Understanding Screenshot Storage In Windows 10
Understanding Screenshot Storage in Windows 10
Related Articles: Understanding Screenshot Storage in Windows 10
Introduction
With great pleasure, we will explore the intriguing topic related to Understanding Screenshot Storage in Windows 10. Let’s weave interesting information and offer fresh perspectives to the readers.
Table of Content
Understanding Screenshot Storage in Windows 10
Screenshots, digital snapshots of your computer screen, are invaluable tools for communication, documentation, and troubleshooting. They provide a visual record of what’s displayed on your screen, capturing errors, instructions, or simply a moment you wish to preserve. Windows 10, like its predecessors, provides several methods to capture screenshots, each with its own unique storage location. This article delves into the intricacies of screenshot storage in Windows 10, clarifying where these digital captures reside and how to locate them.
Default Screenshot Locations in Windows 10
Windows 10 offers a range of screenshot capture methods, each with a predefined storage location:
-
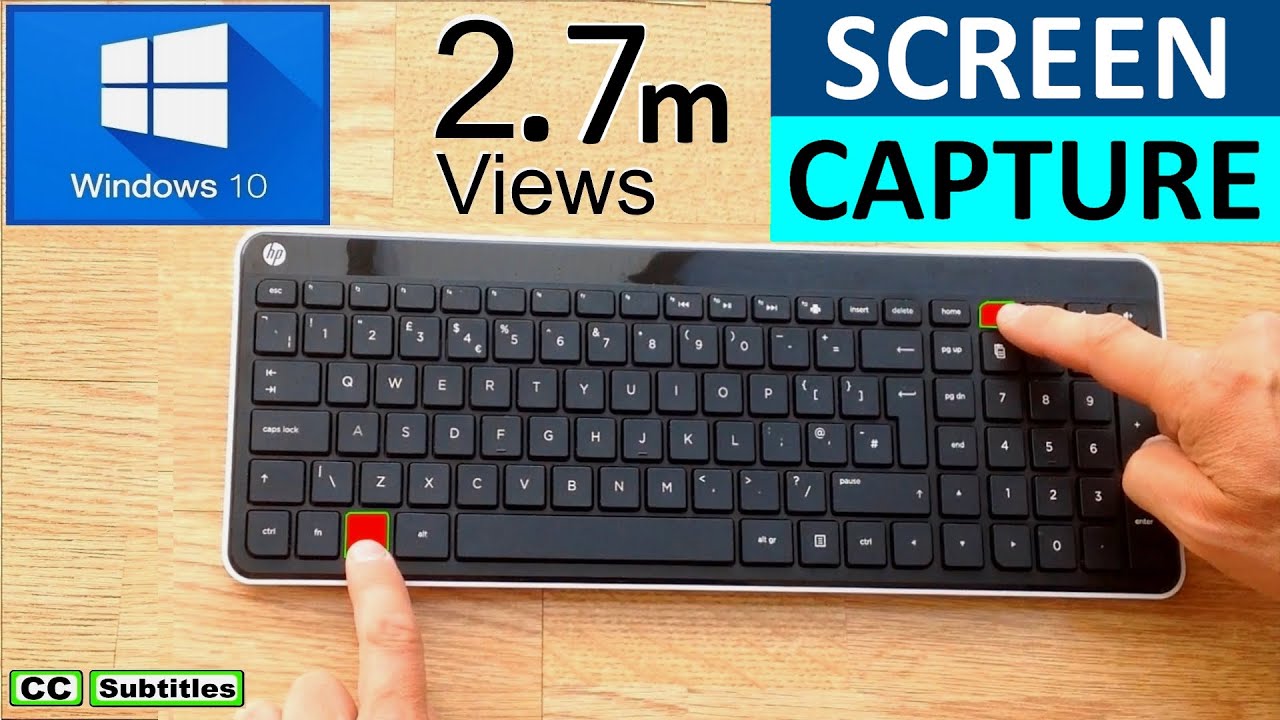
Print Screen (PrtScn) Key: The traditional method, pressing the Print Screen key copies a screenshot of the entire screen to the clipboard. This screenshot remains invisible until you paste it into an image editor or a document. The clipboard is temporary storage, so the screenshot will be lost if you close the application or perform other actions that modify the clipboard contents.
-
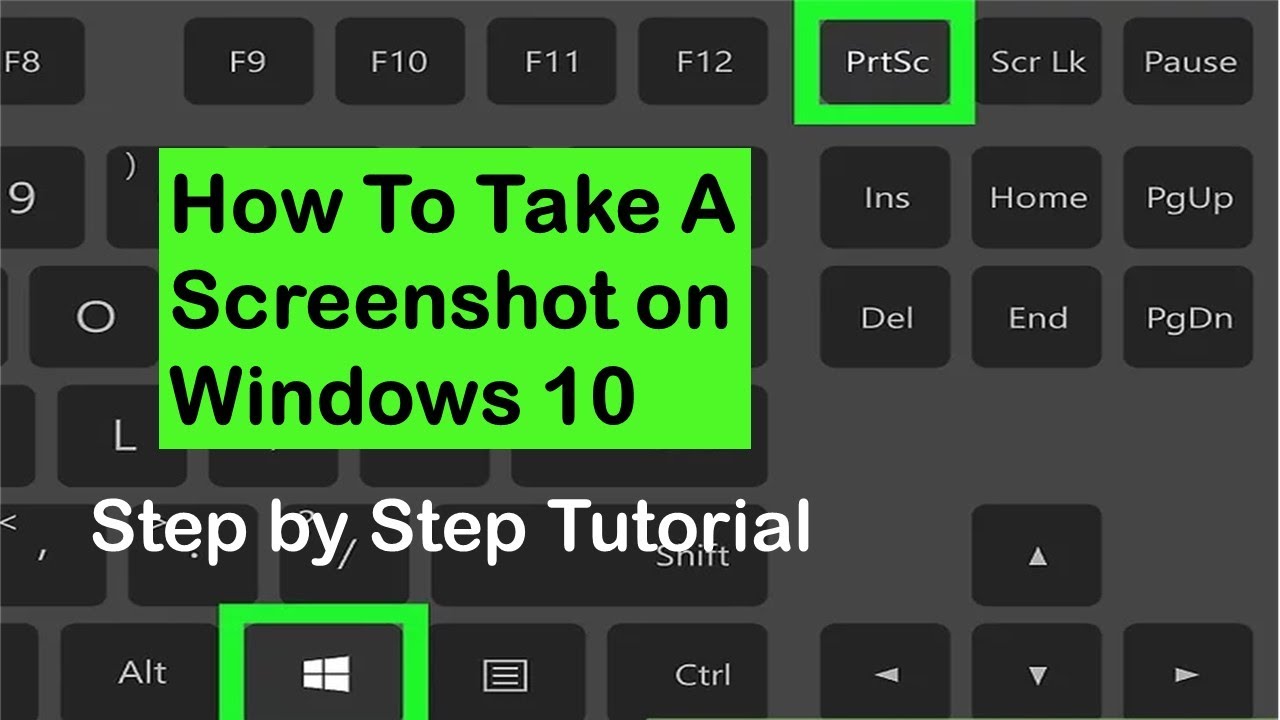
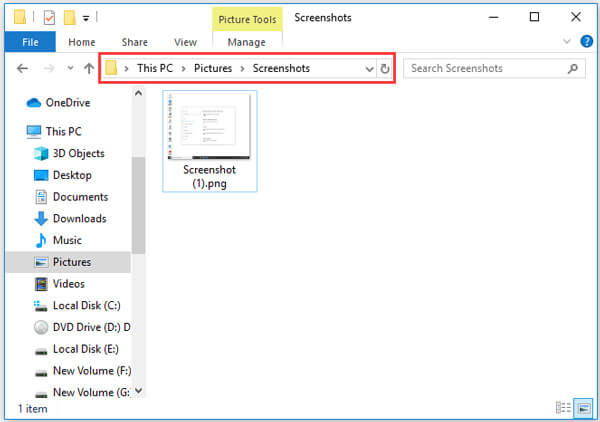
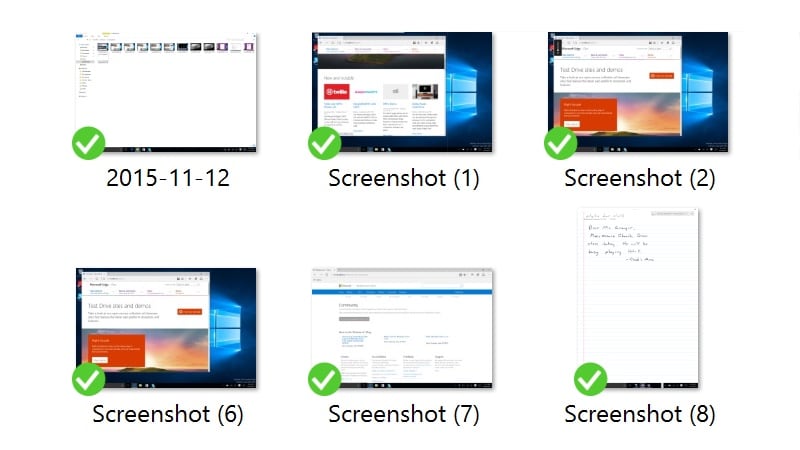
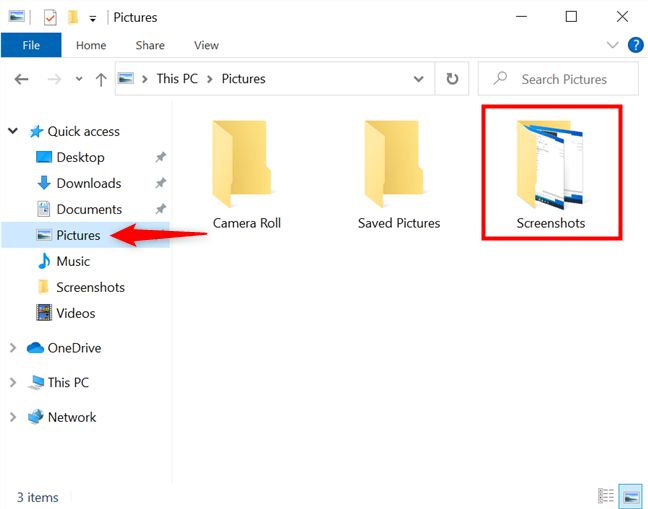
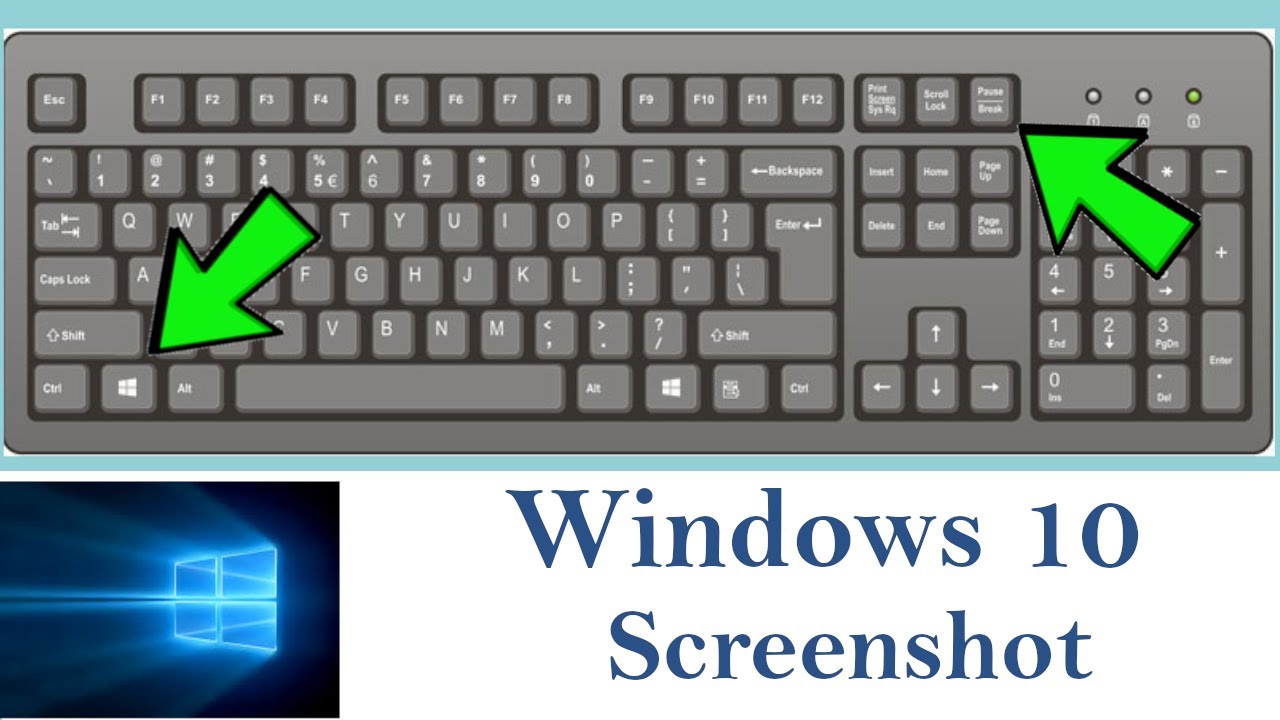
Windows Key + Print Screen (PrtScn): This combination captures a screenshot of the entire screen and automatically saves it as a PNG file in the Pictures folder, specifically within the Screenshots subfolder. This is the default method for capturing full-screen screenshots, offering immediate access to the saved image.
-
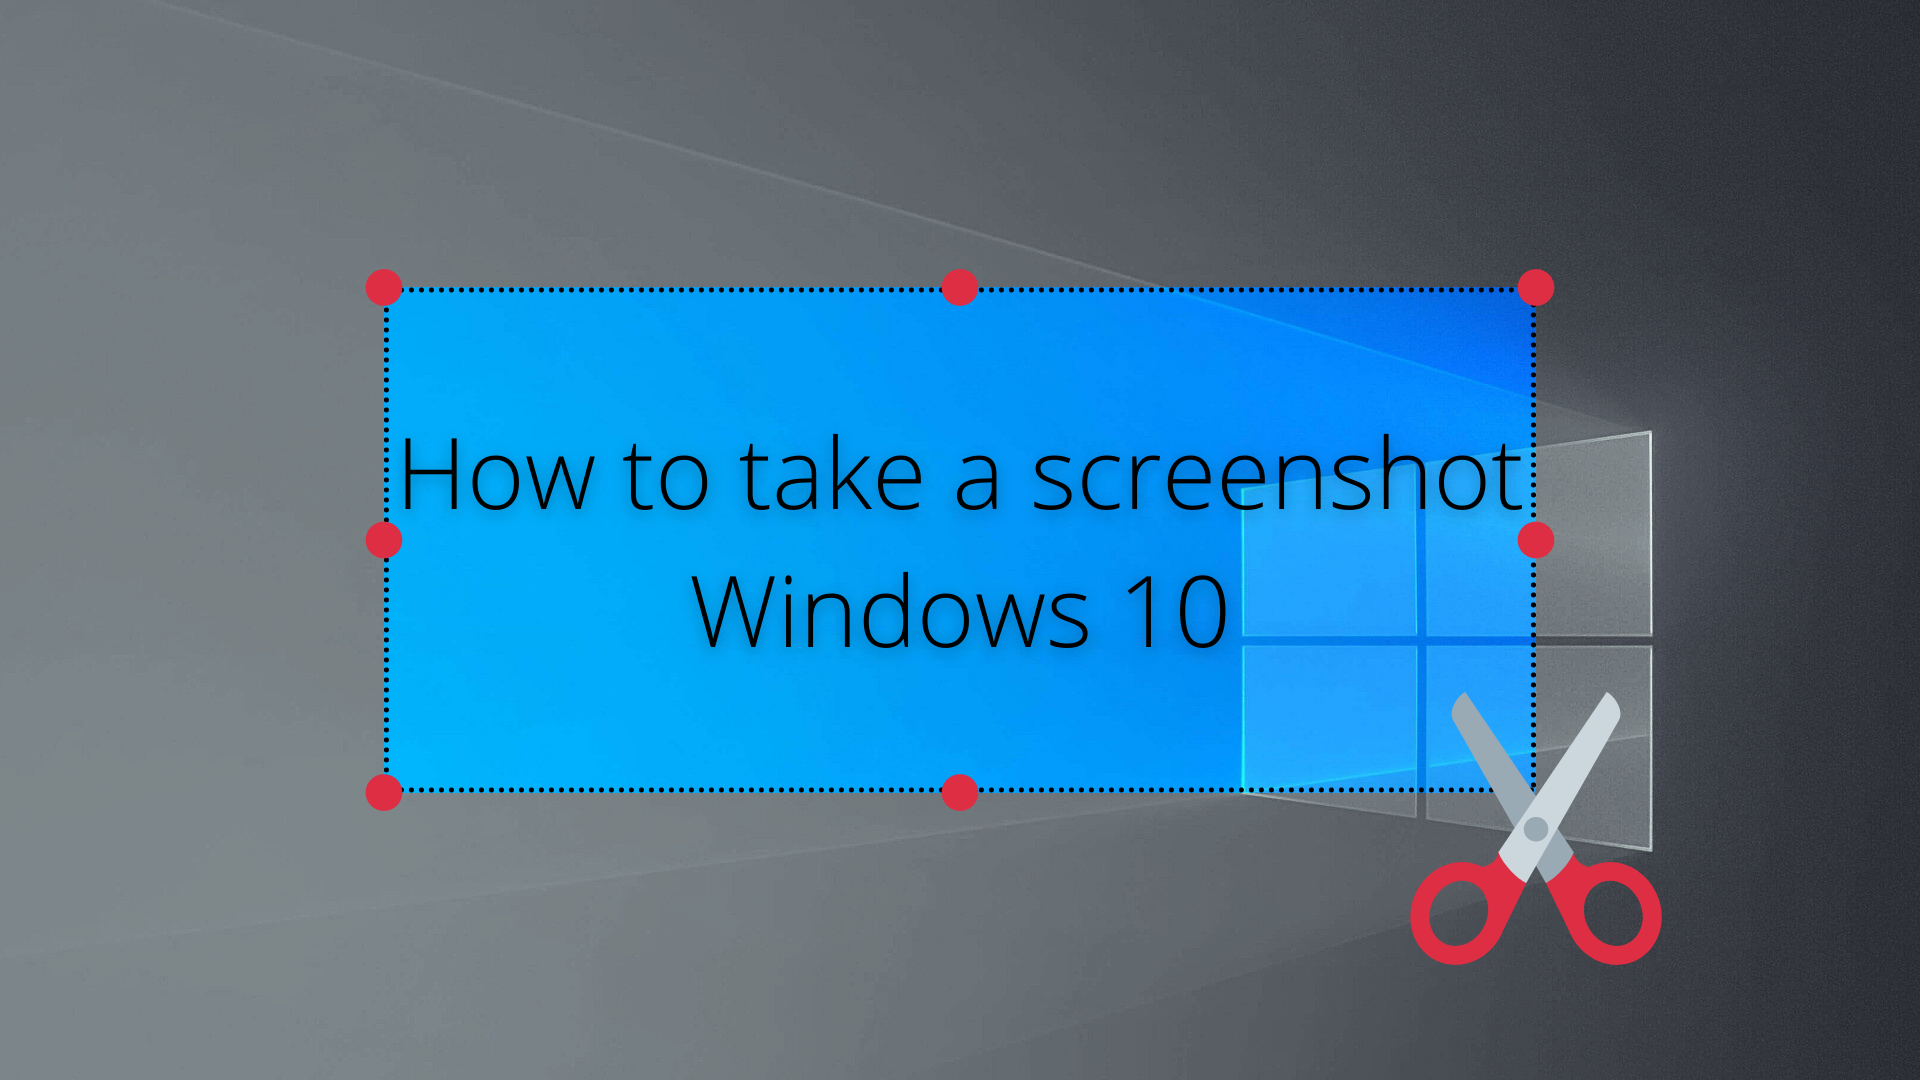
Windows Key + Shift + S: This shortcut activates the "Snipping Tool," allowing you to select a specific area of the screen to capture. The selected area is then copied to the clipboard, requiring you to paste it into an image editor or document.
-
Windows Key + G: This shortcut opens the "Game Bar," a feature primarily designed for capturing gameplay. The Game Bar includes a screenshot capture function, saving the image as a PNG file in the Videos folder, specifically within the Captures subfolder.
-
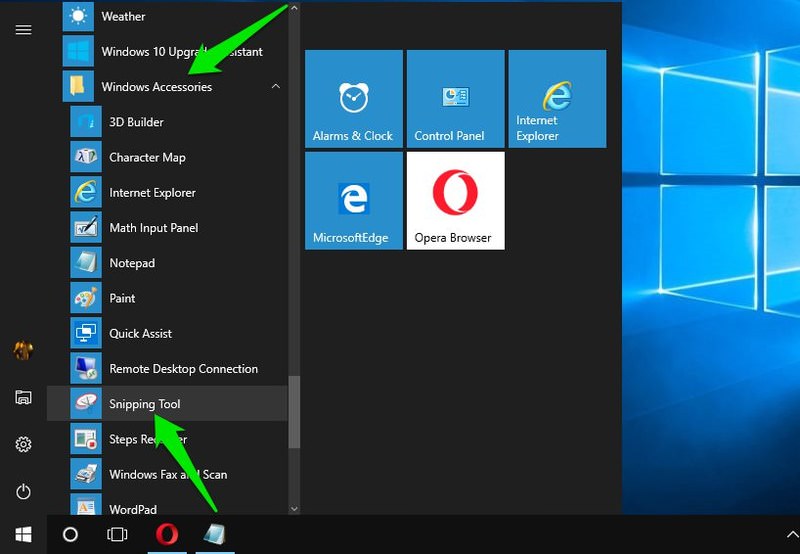
Snipping Tool: The Snipping Tool, accessible through the Start Menu or by searching, offers various capture options, including free-form, rectangular, window, and full-screen captures. The captured image is saved as a PNG file in the Pictures folder, within the Screenshots subfolder.
Beyond the Default Locations
While Windows 10 provides these default storage locations, it’s crucial to understand that you can customize them to suit your preferences. Here’s how:
-
Changing the Default Screenshot Save Location: You can modify the default location for screenshots captured with the "Windows Key + Print Screen" shortcut. Navigate to Settings > System > Storage > Save Locations. Under "New content will save to," select "Pictures" and then click on "Change" to browse and select a different folder for storing your screenshots.
-
Customizing the Snipping Tool: The Snipping Tool allows you to specify a save location for each captured image. After capturing a screenshot, click on the "File" menu and choose "Save As." This option allows you to select a different folder and filename for the captured image.
The Importance of Understanding Screenshot Locations
Knowing where your screenshots are stored is essential for several reasons:
-
Accessibility: Being aware of the default storage locations enables you to quickly locate and access your screenshots. This is especially crucial when sharing them with others or using them for documentation.
-
Organization: Customizing the storage location allows you to organize screenshots based on their purpose, date, or project. This helps maintain a structured file system, making it easier to find specific screenshots later.
-
Security: Choosing specific folders for storing screenshots can enhance security by limiting access to sensitive information captured in the screenshots.
FAQs about Screenshot Storage in Windows 10
Q: What happens if I lose the screenshot I captured with the Print Screen key?
A: The Print Screen key copies the screenshot to the clipboard, a temporary storage location. If you close the application or perform actions that modify the clipboard, the screenshot will be lost. To retain the screenshot, you must paste it into an image editor or document before performing these actions.
Q: Can I change the format of the saved screenshot?
A: Windows 10 automatically saves screenshots as PNG files. However, you can paste the screenshot into an image editor and save it in a different format like JPEG or BMP.
Q: How can I find the screenshots captured with the Game Bar?
A: Screenshots captured with the Game Bar are saved in the "Videos" folder, specifically within the "Captures" subfolder.
Q: What if I don’t see a "Screenshots" subfolder in the "Pictures" folder?
A: If the "Screenshots" subfolder is missing, you can create it manually. Right-click within the "Pictures" folder, select "New," and then choose "Folder." Name the new folder "Screenshots" and save your screenshots there.
Tips for Managing Screenshots in Windows 10
-
Use a dedicated folder: Create a separate folder for screenshots, either within the "Pictures" folder or in a different location, to keep them organized.
-
Name your screenshots descriptively: Assign meaningful names to your screenshots, reflecting their content or purpose. This makes it easier to find them later.
-
Utilize the Snipping Tool: The Snipping Tool offers more flexibility in capturing specific areas of the screen, allowing for greater control over the content of your screenshots.
-
Explore third-party tools: Numerous third-party screenshot tools offer advanced features, such as annotation, video recording, and scheduled captures.
Conclusion
Understanding where your screenshots are stored in Windows 10 is crucial for efficient file management and seamless sharing. By leveraging the default storage locations and customizing them to your needs, you can ensure that your screenshots are readily available when needed. The tips and FAQs provided in this article aim to equip you with the knowledge and tools to manage your screenshots effectively in Windows 10.

Closure
Thus, we hope this article has provided valuable insights into Understanding Screenshot Storage in Windows 10. We hope you find this article informative and beneficial. See you in our next article!