The Power Of A Windows 10 Repair Disk: A Comprehensive Guide To System Recovery
The Power of a Windows 10 Repair Disk: A Comprehensive Guide to System Recovery
Related Articles: The Power of a Windows 10 Repair Disk: A Comprehensive Guide to System Recovery
Introduction
With enthusiasm, let’s navigate through the intriguing topic related to The Power of a Windows 10 Repair Disk: A Comprehensive Guide to System Recovery. Let’s weave interesting information and offer fresh perspectives to the readers.
Table of Content
The Power of a Windows 10 Repair Disk: A Comprehensive Guide to System Recovery
Windows 10, despite its robust design, is not immune to issues. System crashes, software conflicts, and hardware malfunctions can all disrupt the smooth operation of your computer. In such scenarios, a Windows 10 repair disk emerges as a vital tool, enabling you to restore your system to a healthy state and regain control over your digital life.
This guide delves into the intricacies of Windows 10 repair disks, outlining their importance, creation methods, and applications. It also addresses common questions and provides valuable tips for maximizing their effectiveness.
Understanding the Importance of a Windows 10 Repair Disk
A Windows 10 repair disk serves as a lifeline when your computer encounters serious problems. It contains a collection of essential system files and tools designed to troubleshoot and fix various issues, including:
- Boot Errors: If your computer fails to boot properly, a repair disk can help diagnose and resolve the underlying problem.
- System File Corruption: Corrupted system files can lead to instability and errors. A repair disk can restore these files to their original state.
- Malware Infections: Malicious software can damage your system and compromise your data. A repair disk can help remove malware and restore your system’s security.
- Driver Issues: Incompatible or outdated drivers can cause system crashes and malfunctions. A repair disk can help identify and replace problematic drivers.
- Software Conflicts: Conflicting software programs can lead to system instability and errors. A repair disk can help resolve these conflicts.
Creating a Windows 10 Repair Disk: A Proactive Approach
Creating a repair disk is a proactive measure that can save you significant time and frustration in the event of a system failure. There are two primary methods for creating a repair disk:
1. Using the Windows 10 Recovery Media Creation Tool:
- Download the Media Creation Tool from Microsoft’s official website.
- Run the tool and select "Create installation media for another PC."
- Choose the language, edition, and architecture (32-bit or 64-bit) of your Windows 10 installation.
- Select "USB flash drive" as the media type and insert a blank USB drive with sufficient space.
- The tool will download the necessary files and create a bootable USB drive containing the Windows 10 repair environment.
2. Using a Command Prompt:
- Open a command prompt window as administrator.
- Type the following command and press Enter:
recimg /createimage /target:C:RecoveryImage - Replace "C:RecoveryImage" with the desired location and name for your repair image file.
- The command will create a repair image file that you can later use to create a bootable USB drive or DVD.
Using a Windows 10 Repair Disk: A Step-by-Step Guide
Once you have created a repair disk, you can use it to troubleshoot and fix various system problems. Here’s a step-by-step guide:
1. Boot from the Repair Disk:
- Insert the repair disk into your computer and restart it.
- Press the appropriate key during boot-up (usually F12 or Esc) to access the boot menu.
- Select the repair disk as the boot device.
2. Access the Windows Recovery Environment (WinRE):
- The repair disk will load the Windows Recovery Environment (WinRE).
- Choose the appropriate language and keyboard layout.
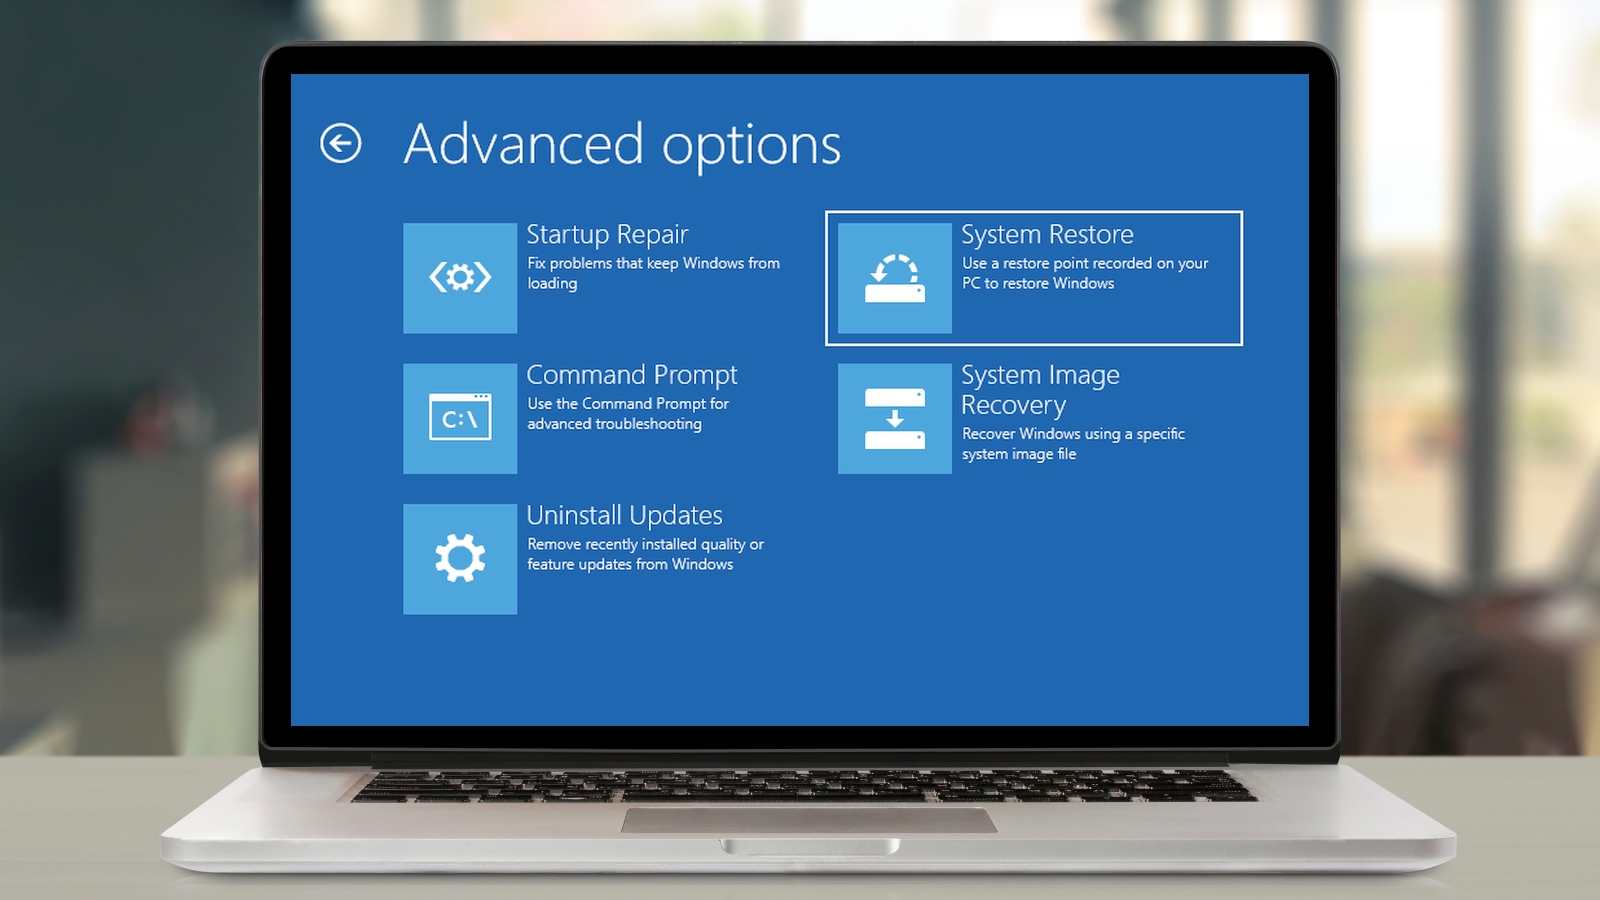
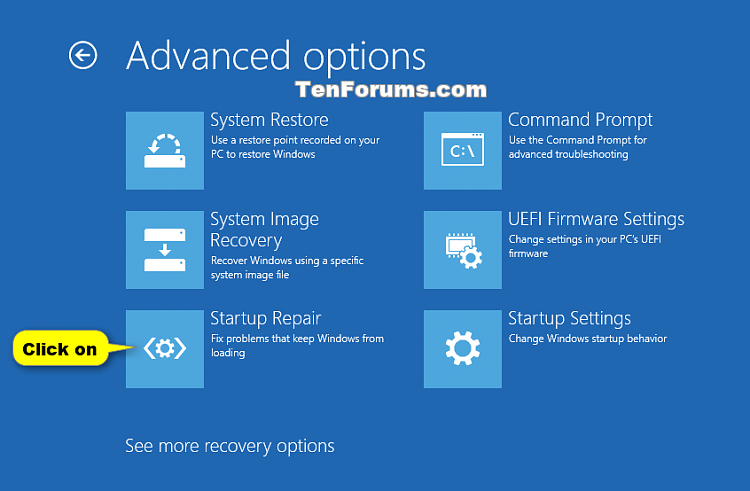
3. Select a Repair Option:
- The WinRE provides a range of repair options:
- Startup Repair: Automatically detects and fixes common boot problems.
- System Restore: Reverts your system to a previous restore point, undoing recent changes.
- Command Prompt: Provides access to advanced command-line tools for troubleshooting.
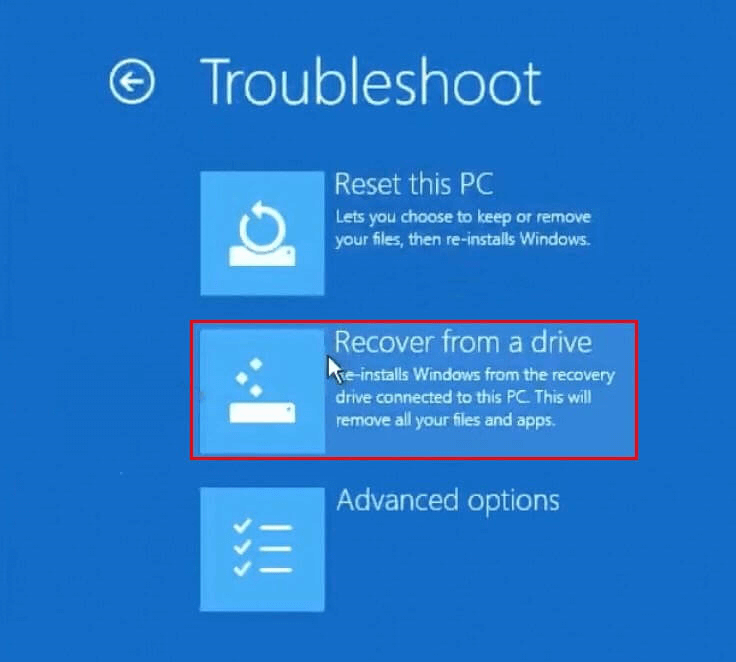
- Troubleshoot: Offers a set of tools for advanced diagnostics and repair.
4. Apply the Repair Option:
- Select the appropriate repair option based on the specific issue you are facing.
- Follow the on-screen instructions to complete the repair process.
5. Restart Your Computer:
- Once the repair process is complete, restart your computer.
- Your computer should now boot normally and operate without the previous issue.
FAQs Regarding Windows 10 Repair Disks
Q: Can I use a Windows 10 repair disk created on a different computer?
A: While you can technically use a repair disk created on a different computer, it’s not recommended. The repair disk might not contain the necessary drivers or system files for your specific computer model.
Q: What happens to my data when I use a repair disk?
A: Generally, repair options like Startup Repair and System Restore do not delete your data. However, some advanced troubleshooting tools might require data deletion. It’s always advisable to back up your important data before using a repair disk.
Q: Can I create a repair disk without a USB drive?
A: While creating a repair disk on a USB drive is the most common method, you can also create a bootable DVD or ISO image file.
Q: What if my computer is completely unresponsive and I cannot boot from the repair disk?
A: If your computer is unresponsive, you might need to use a different method to access the repair environment, such as using a bootable USB drive with a different operating system or contacting a professional technician.
Tips for Using a Windows 10 Repair Disk Effectively
- Back Up Your Data: Always back up your important data before using a repair disk, as some repair options might require data deletion.
- Use a Reliable USB Drive: Use a high-quality USB drive with sufficient space for the repair disk.
- Understand the Repair Options: Carefully read the descriptions of each repair option before selecting one.
- Keep Your Repair Disk Updated: Regularly update your repair disk with the latest system files and tools.
- Seek Professional Help If Needed: If you are unsure about using a repair disk or encounter difficulties, contact a professional technician for assistance.
Conclusion
A Windows 10 repair disk serves as a valuable tool for restoring your computer to a healthy state when it encounters problems. By understanding the importance of creating and using a repair disk, you can proactively prepare for potential system failures and minimize downtime. Remember to back up your data, carefully select the appropriate repair option, and seek professional help if needed. With a properly created and maintained repair disk, you can confidently navigate system issues and maintain a stable and reliable computing experience.


Closure
Thus, we hope this article has provided valuable insights into The Power of a Windows 10 Repair Disk: A Comprehensive Guide to System Recovery. We thank you for taking the time to read this article. See you in our next article!