The Enigma Of The Edge: Understanding Program Snapping In Windows 10
The Enigma of the Edge: Understanding Program Snapping in Windows 10
Related Articles: The Enigma of the Edge: Understanding Program Snapping in Windows 10
Introduction
With great pleasure, we will explore the intriguing topic related to The Enigma of the Edge: Understanding Program Snapping in Windows 10. Let’s weave interesting information and offer fresh perspectives to the readers.
Table of Content
The Enigma of the Edge: Understanding Program Snapping in Windows 10
In the realm of user interfaces, seamless interaction is paramount. Windows 10, a ubiquitous operating system, strives to provide a fluid and intuitive experience. However, users sometimes encounter a peculiar behavior when attempting to move applications across the screen: programs abruptly halt at the edge, refusing to be dragged further. This seemingly arbitrary limitation, while seemingly minor, can significantly disrupt workflow and user comfort.
This phenomenon, commonly known as "snapping," is a deliberate feature designed to enhance productivity and screen management. It leverages the user’s intent to automatically resize and position applications, maximizing screen real estate and fostering a more organized workspace. However, the abrupt nature of this behavior can be frustrating, particularly when users desire to position applications with greater precision.
Understanding the Mechanics of Snapping
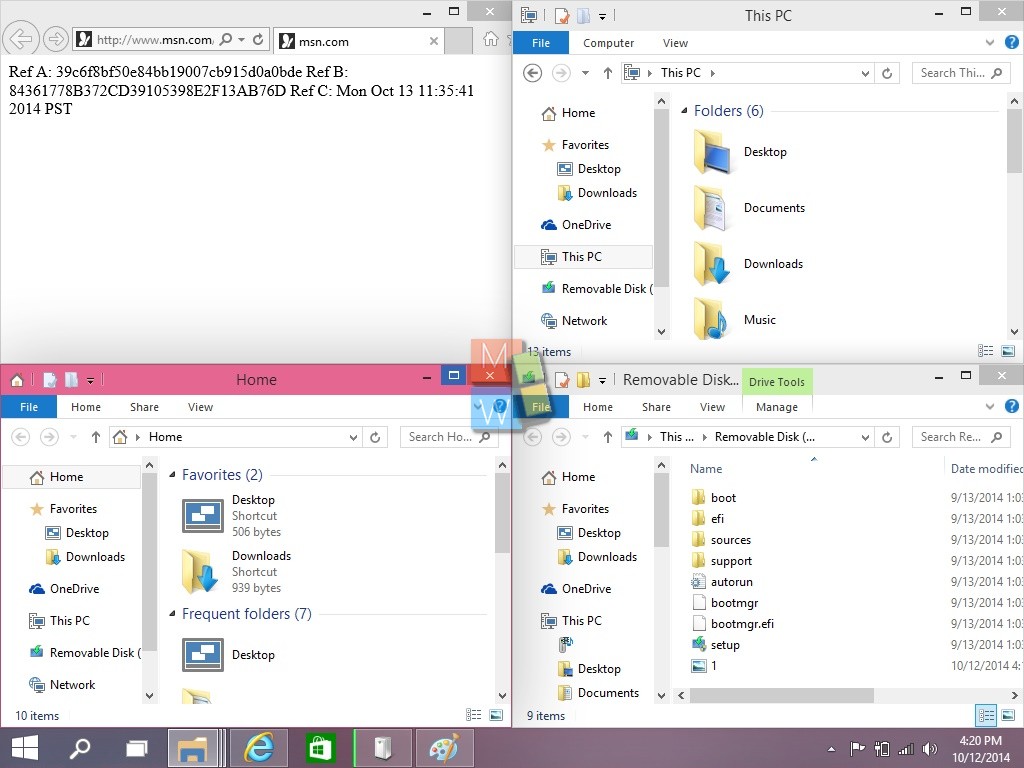
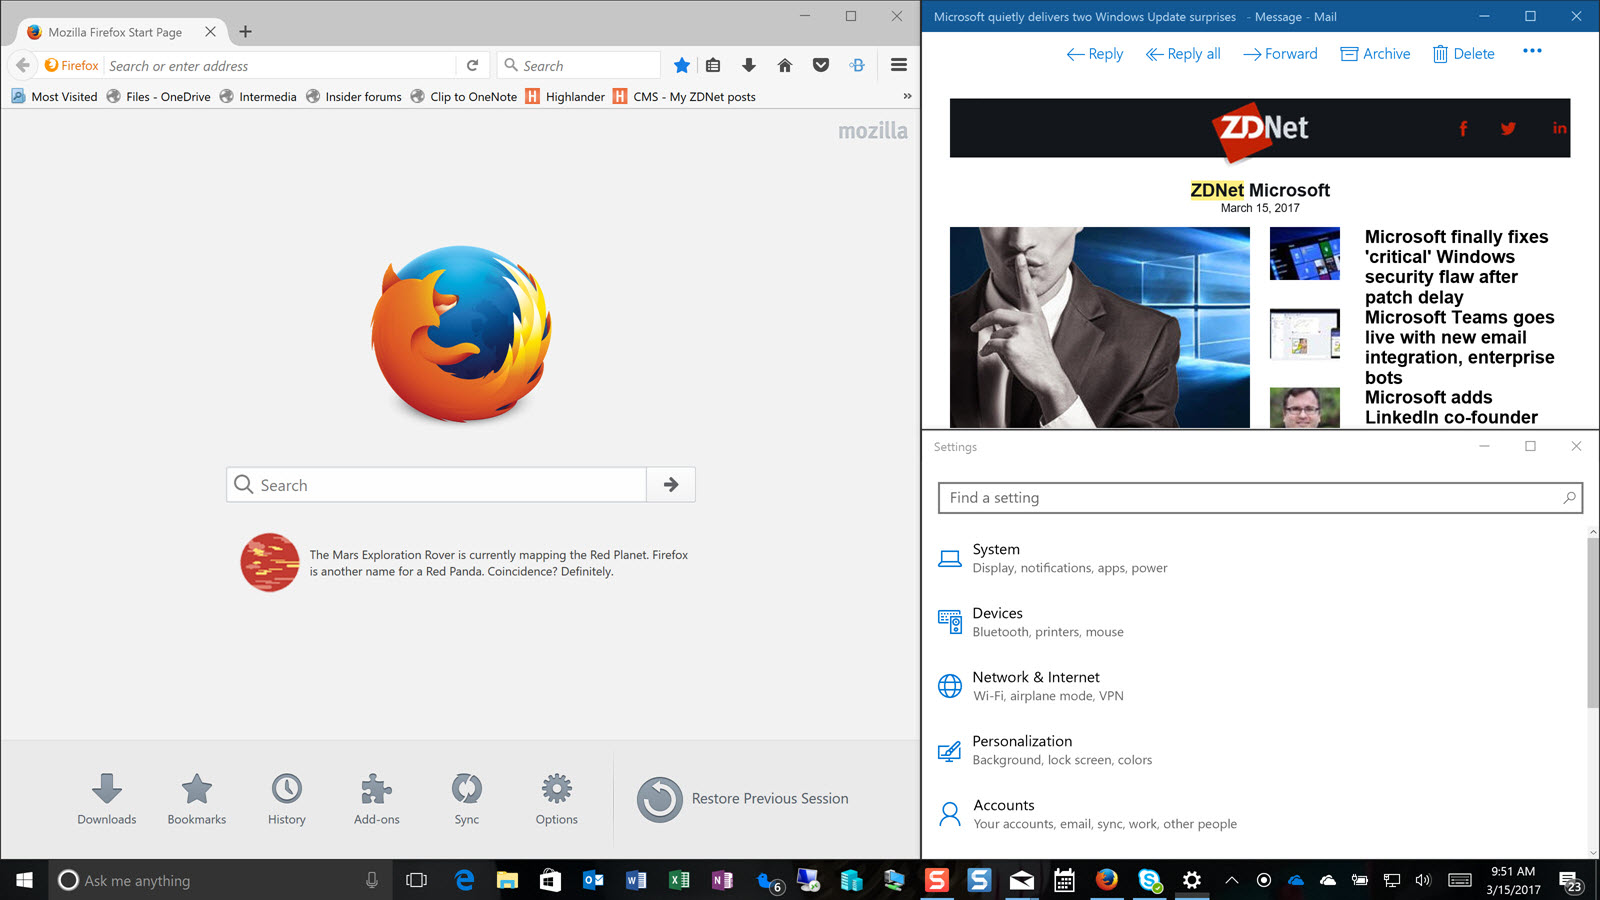
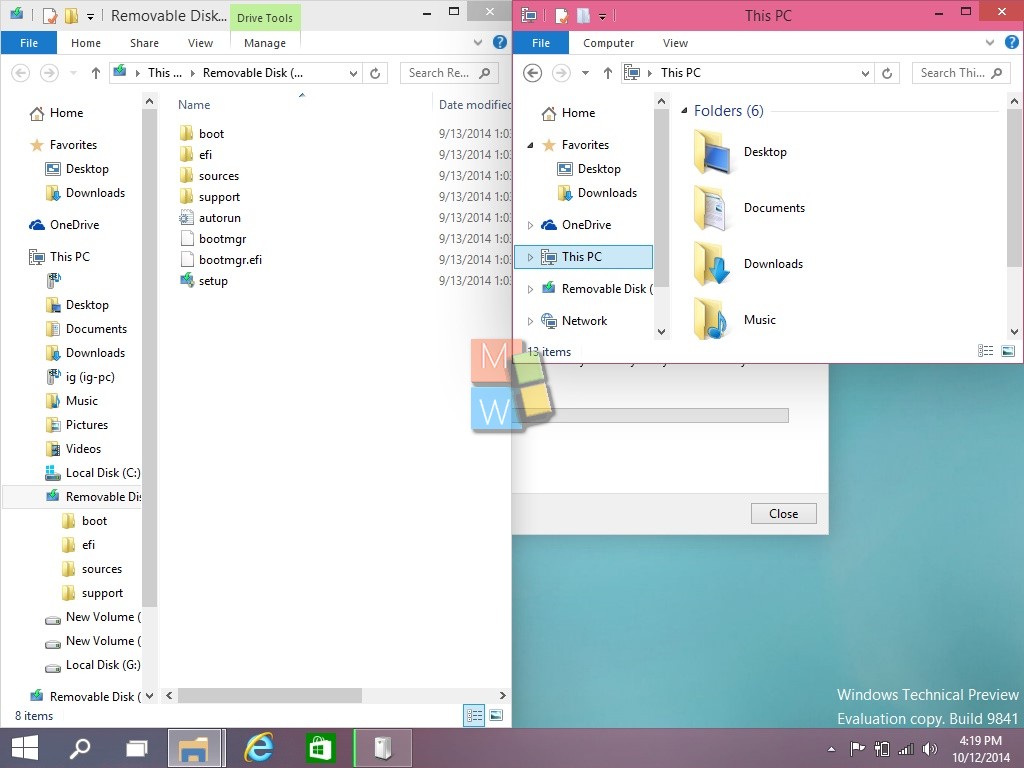
Windows 10 employs a sophisticated system of snapping behavior, offering a range of options to tailor the user experience. The core functionality relies on the concept of "snap zones," which are distinct regions along the edges of the screen. When a user initiates a drag-and-drop operation on a window, the system detects the proximity of the window’s edge to these zones. Upon crossing the threshold, the window automatically snaps to the designated zone, resizing itself to occupy a pre-defined portion of the screen.
The Benefits of Snapping
Snapping offers several advantages, making it a valuable tool for multitasking and maximizing productivity:
- Screen Organization: By automatically arranging applications, snapping promotes a more organized and visually appealing workspace. This is particularly beneficial for users working with multiple applications simultaneously.
- Enhanced Multitasking: Snapping allows for efficient multitasking by enabling the user to quickly create a side-by-side view of two applications, facilitating seamless switching between tasks.
- Improved Focus: By dividing the screen into distinct areas, snapping helps users focus on individual tasks by minimizing distractions from other applications.
- Accessibility: Snapping can be particularly helpful for users with physical limitations, as it allows them to easily resize and position applications without requiring extensive mouse movements.
The Challenges of Snapping
While snapping offers numerous benefits, it also presents certain challenges that can lead to user frustration:
- Unwanted Snapping: Snapping can be intrusive when users intend to move a window to a specific location without resizing it. This can disrupt workflows and hinder precision in application positioning.
- Limited Flexibility: Snapping adheres to pre-defined screen divisions, limiting the user’s ability to customize window sizes and positions beyond these designated zones.
- Confusing Behavior: The abrupt nature of snapping can be confusing for new users, particularly those accustomed to other operating systems that do not employ similar features.
Navigating the Snapping Behavior
Windows 10 provides several options for customizing snapping behavior, allowing users to tailor the experience to their individual needs and preferences:
- Disabling Snapping: Users can completely disable snapping behavior by adjusting settings within the Windows settings menu. This option allows for complete control over window positioning and eliminates the unwanted snapping behavior.
- Adjusting Snapping Zones: Users can modify the size and location of the snap zones by adjusting settings within the Windows settings menu. This allows for greater flexibility in window positioning and accommodates individual screen configurations.
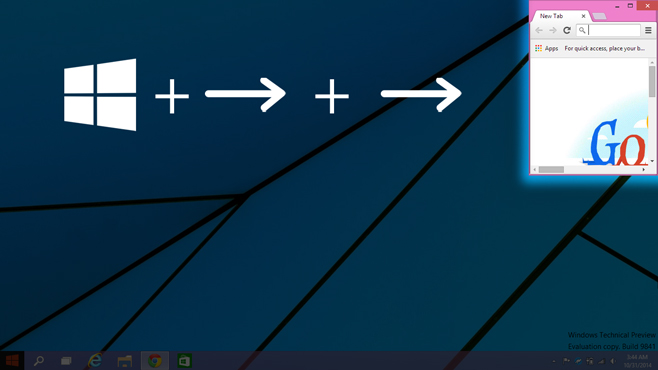
- Utilizing Keyboard Shortcuts: Windows 10 offers keyboard shortcuts for snapping windows, allowing users to quickly and efficiently arrange applications without using the mouse. This method offers greater precision and control over window positioning.
- Third-Party Applications: Numerous third-party applications offer advanced window management features, including customization options for snapping behavior. These applications provide a wider range of control and flexibility compared to the built-in Windows snapping functionality.
FAQs Regarding Snapping in Windows 10
Q: How do I disable snapping in Windows 10?
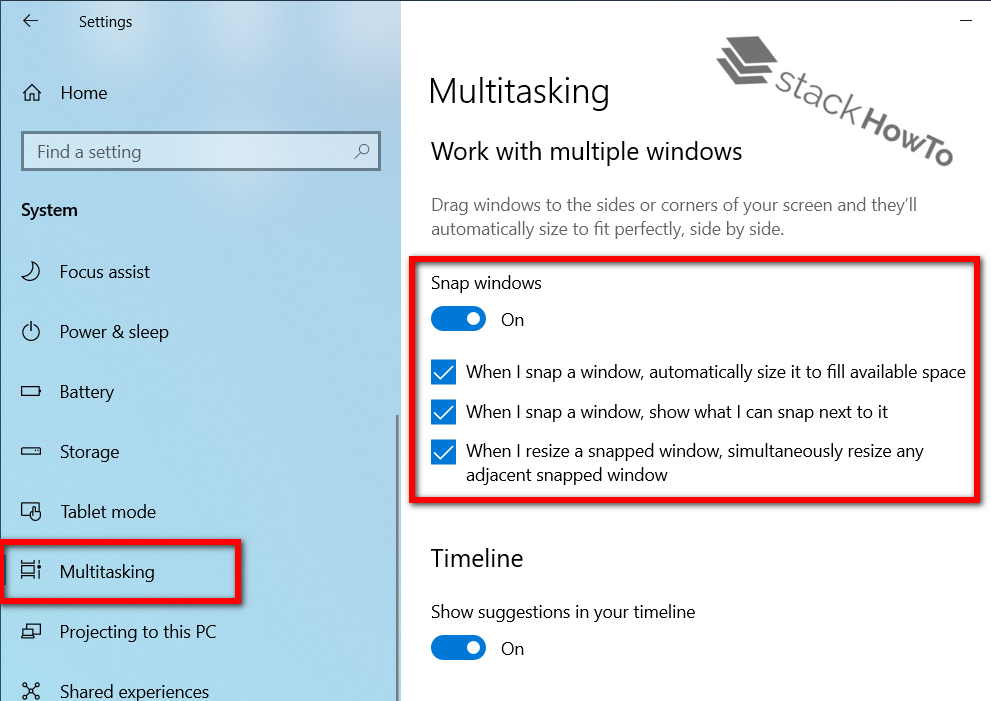
A: To disable snapping, navigate to "Settings" > "System" > "Multitasking" and toggle the "Snap windows" option to "Off."
Q: Can I adjust the size of the snap zones?
A: While Windows 10 does not provide direct control over the size of snap zones, users can modify the overall screen resolution, which indirectly affects the size of these zones.
Q: How do I use keyboard shortcuts for snapping?
A: To snap a window to the left or right side of the screen, press Windows Key + Left Arrow or Windows Key + Right Arrow, respectively. To snap a window to the top or bottom of the screen, press Windows Key + Up Arrow or Windows Key + Down Arrow, respectively.
Q: Are there any third-party applications for managing windows?
A: Yes, numerous third-party applications offer advanced window management features, including customization options for snapping behavior. Some popular options include "WindowSnap," "PowerToys," and "DisplayFusion."
Tips for Managing Snapping in Windows 10
- Experiment with Settings: Explore the various settings related to snapping to find the configuration that best suits your individual needs and preferences.
- Utilize Keyboard Shortcuts: Employ keyboard shortcuts for snapping to streamline your workflow and enhance efficiency.
- Consider Third-Party Applications: Explore third-party applications for advanced window management capabilities and greater flexibility in customizing snapping behavior.
- Practice and Familiarize Yourself: Practice using the snapping features to develop muscle memory and optimize your workflow.
Conclusion
The snapping feature in Windows 10, while often perceived as a limitation, serves as a powerful tool for enhancing productivity and optimizing screen management. By understanding the mechanics of snapping and exploring the various customization options, users can harness this feature to create a more efficient and enjoyable computing experience. While snapping may present challenges for users seeking precise control over window positioning, the benefits it offers in terms of multitasking, organization, and accessibility outweigh the potential drawbacks. By leveraging the available options and adapting to the snapping behavior, users can transform this seemingly arbitrary feature into a valuable asset in their daily workflow.


Closure
Thus, we hope this article has provided valuable insights into The Enigma of the Edge: Understanding Program Snapping in Windows 10. We hope you find this article informative and beneficial. See you in our next article!