Reviving Your Windows 10: A Guide To Creating And Utilizing A Repair USB Drive
Reviving Your Windows 10: A Guide to Creating and Utilizing a Repair USB Drive
Related Articles: Reviving Your Windows 10: A Guide to Creating and Utilizing a Repair USB Drive
Introduction
With great pleasure, we will explore the intriguing topic related to Reviving Your Windows 10: A Guide to Creating and Utilizing a Repair USB Drive. Let’s weave interesting information and offer fresh perspectives to the readers.
Table of Content
Reviving Your Windows 10: A Guide to Creating and Utilizing a Repair USB Drive

The ubiquitous presence of Windows 10 across countless computers has made it a mainstay in the digital world. However, even the most reliable operating system can encounter issues, leading to frustrating performance problems or even system crashes. Fortunately, Microsoft offers a powerful tool for troubleshooting and restoring Windows 10 to its optimal state: the Windows 10 repair USB drive. This article delves into the creation, utilization, and benefits of this essential recovery tool, providing a comprehensive guide for users of all skill levels.
The Importance of a Windows 10 Repair USB Drive
The Windows 10 repair USB drive serves as a lifeline for users facing a multitude of technical difficulties. It essentially acts as a portable toolkit containing essential recovery tools and system files, allowing users to:
- Troubleshoot and Repair System Errors: The repair drive provides access to various diagnostic and repair tools, enabling users to identify and fix system errors, corrupted files, and other issues that might hinder Windows 10’s functionality.
- Restore Windows 10 to a Previous State: The repair drive allows users to revert their system to a previous working state, known as a restore point, effectively undoing unwanted changes or software installations that might have caused problems.
- Reinstall Windows 10: In cases of severe system corruption or complete failure, the repair drive enables users to perform a clean installation of Windows 10, effectively resetting the system to its original state.
- Access Advanced Startup Options: The repair drive provides access to advanced startup options, allowing users to troubleshoot boot issues, access safe mode, and perform other system-level operations.
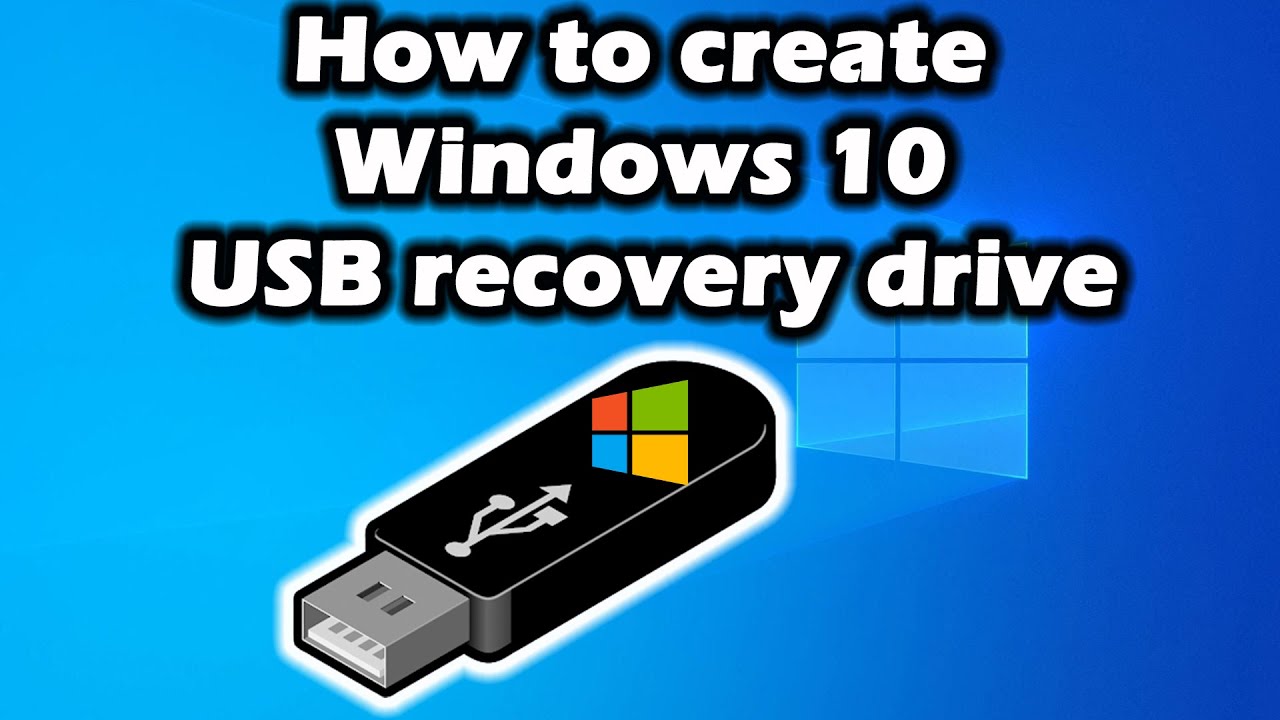
Creating a Windows 10 Repair USB Drive
Creating a Windows 10 repair USB drive is a straightforward process, requiring a few simple steps:
-
Gather Necessary Materials:
- A USB flash drive with at least 8GB of storage space.
- A working computer with an internet connection.
- The Windows 10 installation media (ISO file or DVD).
-
Download the Windows 10 Installation Media:
- Visit the official Microsoft website and download the Windows 10 ISO file.
- Choose the correct edition and language for your system.
-
Create a Bootable USB Drive:
- Use the Media Creation Tool provided by Microsoft to create a bootable USB drive from the downloaded ISO file.
- Follow the on-screen instructions carefully.
-
Verify the USB Drive:
- Once the process is complete, verify that the USB drive is bootable by restarting your computer and checking if it recognizes the drive as a bootable device.
Using the Windows 10 Repair USB Drive
Once the repair USB drive is created, it can be used to troubleshoot and fix a wide range of Windows 10 issues. Here’s a step-by-step guide on how to use the repair drive:
-
Boot from the USB Drive:
- Restart your computer and access the BIOS settings.
- Configure the boot order to prioritize the USB drive.
- Save the changes and exit the BIOS.
-
Select the Repair Option:
- The Windows 10 setup screen will appear.
- Choose the "Repair your computer" option.
-
Choose a Recovery Tool:
- The recovery environment will present a menu of troubleshooting options.
- Select the appropriate tool based on the issue you’re facing.
-
Follow the On-Screen Instructions:
- Each recovery tool has specific instructions.
- Follow these instructions carefully to resolve the issue.
Troubleshooting Common Windows 10 Issues with the Repair USB Drive
The Windows 10 repair USB drive can be used to address a wide range of common issues, including:
- System Errors and Crashes: Use the "Startup Repair" tool to diagnose and fix system errors that might be causing crashes or instability.
- Corrupted System Files: The "System File Checker" tool can scan and repair corrupted system files that might be contributing to system malfunctions.
- Boot Issues: The "Startup Settings" option allows users to access advanced boot options, such as Safe Mode, which can help troubleshoot boot problems.
- Driver Conflicts: The "Device Manager" tool can be used to identify and update drivers that might be causing system conflicts.
- Software Conflicts: The "Uninstall Programs" tool allows users to remove problematic software that might be causing system issues.
FAQs Regarding Windows 10 Repair USB Drive
1. Is it necessary to create a repair USB drive if my computer is working fine?
While not mandatory, creating a repair USB drive is highly recommended as a proactive measure. It provides a safety net in case of unforeseen system issues or data loss.
2. Can I use the same USB drive for multiple computers?
Yes, the repair USB drive can be used on different computers running Windows 10, as long as the edition and language match the target computer.
3. What happens to my data when I use the repair USB drive?
The repair tools generally aim to fix issues without affecting user data. However, in cases of a clean installation, all data will be erased. It’s always advisable to back up important data before using the repair USB drive.
4. Can I create a repair USB drive without the Windows 10 installation media?
No, the Windows 10 installation media (ISO file or DVD) is required to create a bootable repair USB drive.
5. How often should I update the repair USB drive?
It’s recommended to update the repair USB drive periodically, especially after major Windows updates, to ensure it contains the latest system files and recovery tools.
Tips for Using a Windows 10 Repair USB Drive
- Back Up Your Data: Always back up important data before using the repair USB drive, especially if performing a clean installation.
- Use a Dedicated USB Drive: Avoid using a USB drive that contains personal data, as the repair process might overwrite or delete files.
- Follow the Instructions Carefully: Pay close attention to the on-screen instructions provided by the recovery tools.
- Consult Microsoft Support: If you encounter difficulties or have questions, contact Microsoft support for assistance.
Conclusion
The Windows 10 repair USB drive serves as a vital tool for maintaining the health and stability of your Windows 10 system. It provides a convenient and efficient way to troubleshoot and resolve a wide range of issues, from minor system errors to major system crashes. By creating and keeping a repair USB drive handy, users can ensure a smooth and reliable computing experience, reducing the risk of data loss and system downtime. Remember, proactively preparing for potential issues is key to maintaining a stable and functional Windows 10 system.
:max_bytes(150000):strip_icc()/Useadeviceannotated-0393c83dbea646858ec258c6c5c10d97.jpg)
:max_bytes(150000):strip_icc()/CheckedNextannotated-0c55efae9d024776a5ab55a577001c86.jpg)
:max_bytes(150000):strip_icc()/RecoveryDriveannotated-0064a4cf51bf47018018fad53e7c95ec.jpg)


Closure
Thus, we hope this article has provided valuable insights into Reviving Your Windows 10: A Guide to Creating and Utilizing a Repair USB Drive. We hope you find this article informative and beneficial. See you in our next article!