Rejuvenating Your Windows 10 System: A Comprehensive Guide To Repair Upgrades
Rejuvenating Your Windows 10 System: A Comprehensive Guide to Repair Upgrades
Related Articles: Rejuvenating Your Windows 10 System: A Comprehensive Guide to Repair Upgrades
Introduction
In this auspicious occasion, we are delighted to delve into the intriguing topic related to Rejuvenating Your Windows 10 System: A Comprehensive Guide to Repair Upgrades. Let’s weave interesting information and offer fresh perspectives to the readers.
Table of Content
Rejuvenating Your Windows 10 System: A Comprehensive Guide to Repair Upgrades
Windows 10, despite its robust design, can encounter issues over time. These issues can range from minor performance hiccups to more significant errors hindering everyday usage. To address such problems, Microsoft offers a powerful tool: the Repair Upgrade. This process, often referred to as a "refresh," essentially reinstalls Windows 10 while preserving user data and personal settings.
Understanding the Repair Upgrade:
A repair upgrade is not a complete reinstallation. It primarily targets the operating system’s core files, aiming to fix corrupted or missing components. Think of it as a deep clean and re-organization of your Windows 10 system. The process involves downloading a fresh copy of Windows 10, replacing the existing installation with the new one. However, it retains user files, applications, and settings, minimizing the need for reinstalling everything from scratch.
Benefits of a Repair Upgrade:
- Resolves System Errors: Repair upgrades are particularly effective in addressing common issues like blue screens of death (BSOD), system freezes, and application crashes. They can rectify corrupted system files, update drivers, and fix registry errors, leading to a more stable and responsive system.
- Improved Performance: By replacing corrupted files and updating system components, a repair upgrade can boost system performance. It can improve boot times, application launch speeds, and overall responsiveness, making your computer feel like new.
- Data Preservation: The key advantage of a repair upgrade is its ability to preserve user data and settings. This eliminates the need to back up entire drives and reinstall programs after the upgrade, simplifying the process.
- Clean System: Repair upgrades often remove temporary files, unnecessary programs, and other clutter that can accumulate over time, leading to a cleaner and more efficient system.
- Troubleshooting Tool: When faced with stubborn system errors, a repair upgrade can be a valuable troubleshooting tool. If other solutions have failed, it can often pinpoint and address the underlying issue.
When to Consider a Repair Upgrade:
While a repair upgrade is a powerful tool, it’s not a solution for all problems. It’s best suited for:
- System Instability: Frequent crashes, freezes, or slow performance could indicate corrupted system files.
- Driver Issues: Outdated or faulty drivers can cause various system malfunctions.
- Software Conflicts: Conflicting programs can lead to instability and errors.
- Performance Degradation: A noticeable decline in system speed can be addressed by a repair upgrade.
Before You Begin:
- Backup Your Data: While the repair upgrade aims to preserve data, it’s always wise to create a backup of important files and documents. This ensures you have a safety net in case of unexpected issues.
- Check for Updates: Ensure you have the latest Windows updates installed before proceeding. This can sometimes resolve issues without requiring a repair upgrade.
- Disable Antivirus Software: Temporarily disable your antivirus software to prevent potential conflicts during the upgrade process.
Performing a Repair Upgrade:
There are two primary methods for performing a repair upgrade:
-
Using the Windows 10 Settings:
- Navigate to Settings > Update & Security > Recovery.
- Under "Reset this PC," click on "Get Started" for "Keep my files."
- Follow the on-screen instructions.
-
Using a Bootable USB Drive:
- Download the Windows 10 installation media from Microsoft’s website.
- Create a bootable USB drive using the downloaded media.
- Boot your computer from the USB drive.
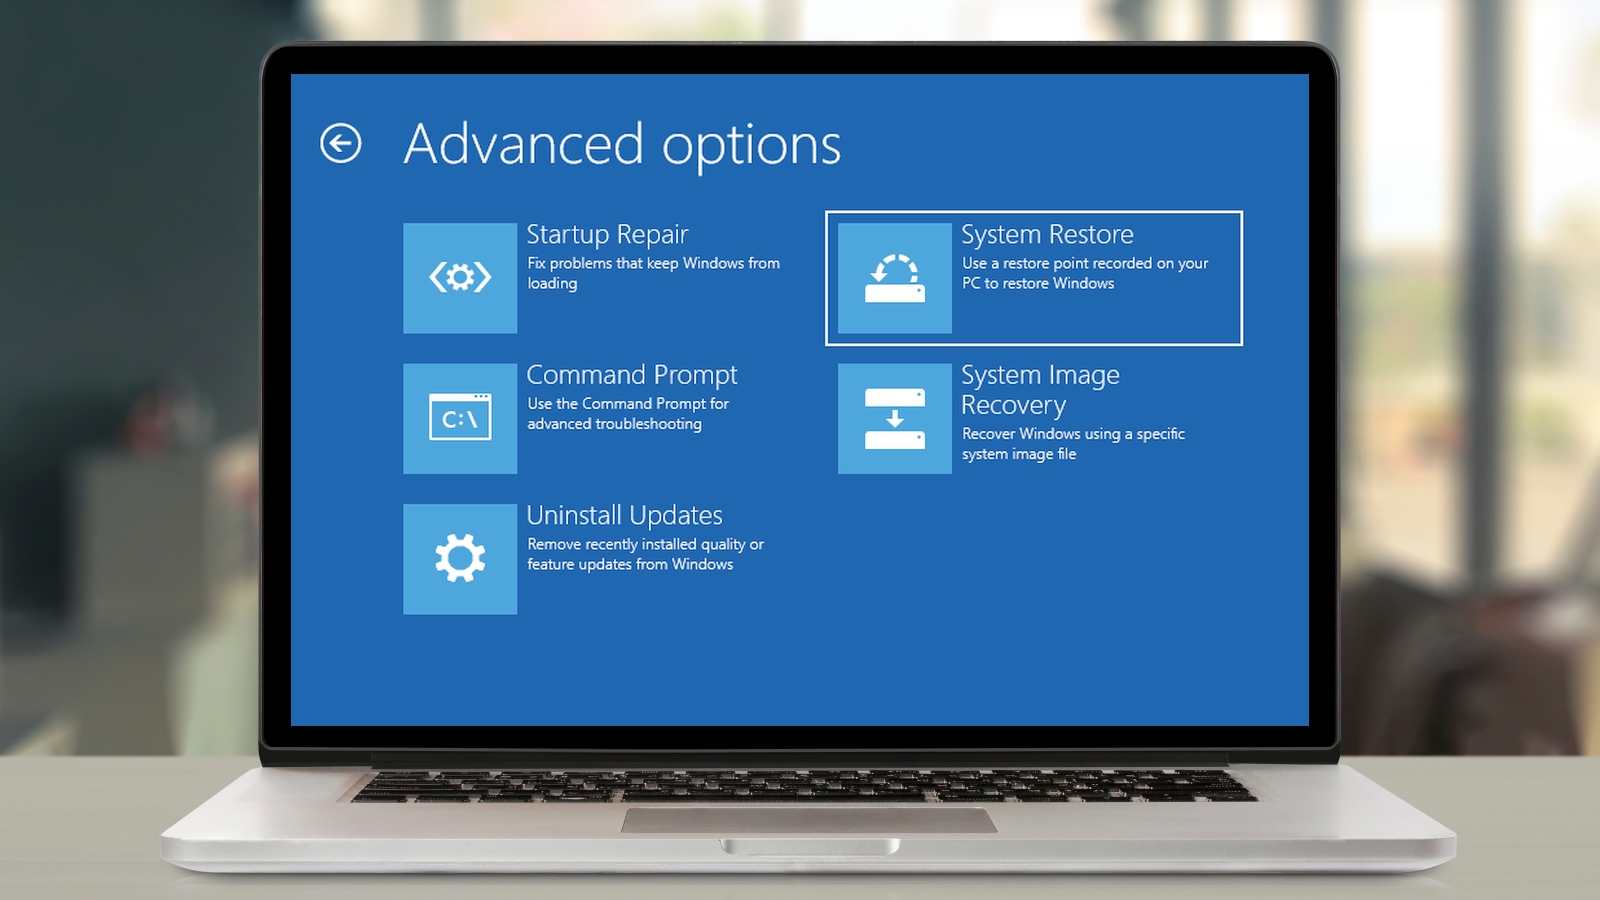
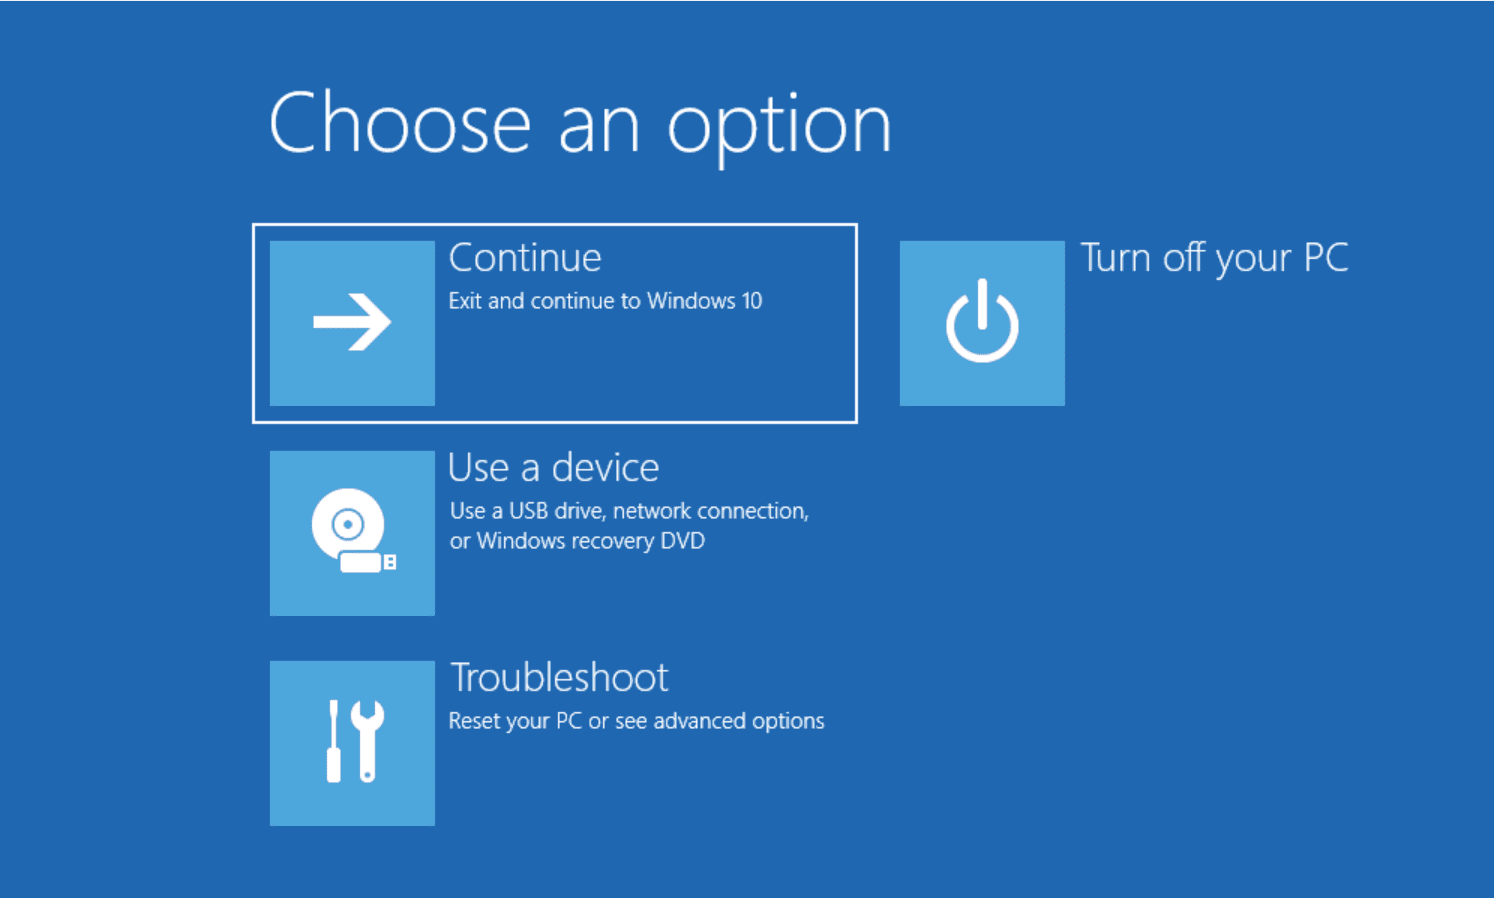
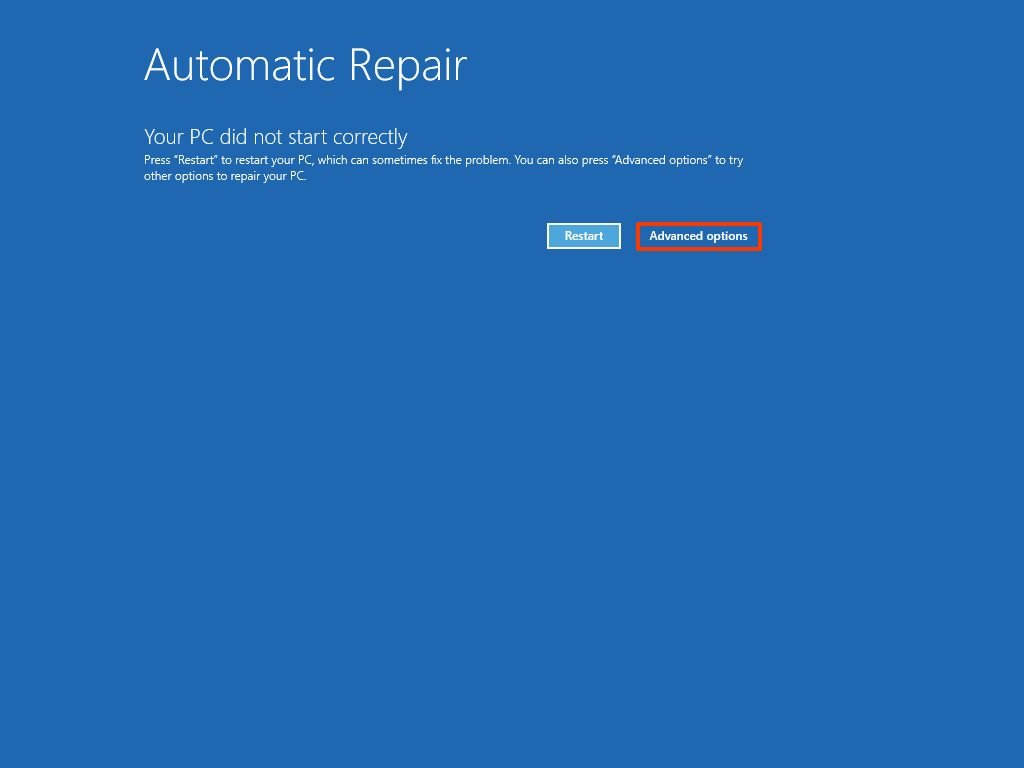
- Select "Repair your computer" from the installation menu.
- Choose **"Troubleshoot" > "Reset this PC" > "Keep my files."
- Follow the on-screen instructions.
FAQs Regarding Repair Upgrades:
Q: Will I lose my data during a repair upgrade?
A: No, a repair upgrade is designed to preserve your user files, applications, and settings. It primarily targets system files, not personal data.
Q: How long does a repair upgrade take?
A: The duration varies depending on the system’s configuration and the speed of your internet connection. It can take anywhere from 30 minutes to a couple of hours.
Q: Can I perform a repair upgrade on a laptop without an internet connection?
A: No, you need a stable internet connection to download the necessary files for the repair upgrade.
Q: Will a repair upgrade fix all system issues?
A: While it can address many common problems, it may not resolve all issues. Some issues might require additional troubleshooting or specialized solutions.
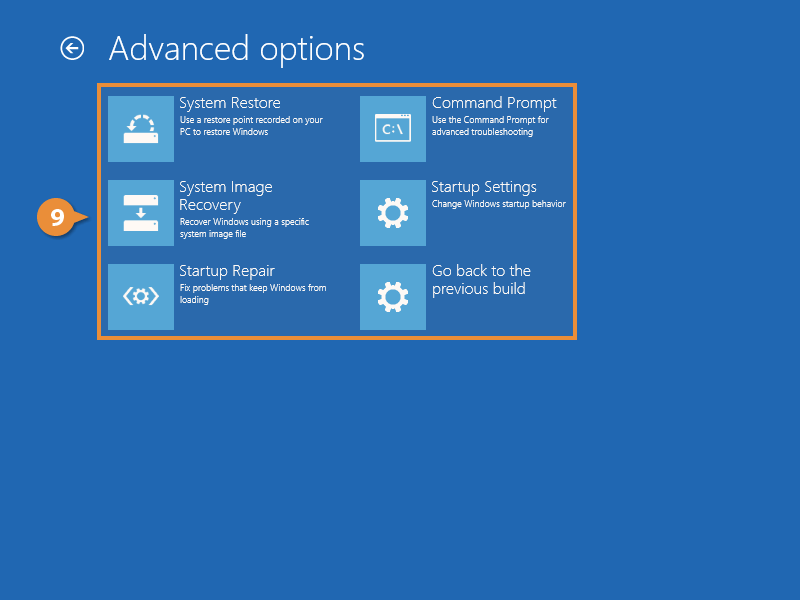
Q: Can I revert back to the previous state after a repair upgrade?
A: Windows 10 provides a "Go back to previous build" option within the Settings app for a limited time after a repair upgrade. However, this option may not always be available.
Tips for Successful Repair Upgrades:
- Close all open applications: Ensure all programs are closed before starting the upgrade process.
- Disconnect external devices: Remove external drives and peripherals to avoid potential conflicts.
- Be patient: The upgrade process can take time, so be patient and allow it to complete.
- Monitor for errors: Keep an eye on the screen for any error messages during the process. If any appear, try restarting the upgrade or seeking assistance.
Conclusion:
A repair upgrade is a powerful tool for addressing system issues and rejuvenating your Windows 10 experience. It offers a convenient and efficient way to resolve common errors, improve performance, and maintain a clean and stable system. By understanding the process and its benefits, you can leverage this tool to keep your computer running smoothly and reliably. However, it’s essential to remember that it’s not a magic bullet and may not solve all problems. For more complex issues, seeking professional assistance might be necessary.

![Repair Windows 10 Using Automatic Repair [Tutorial] - YouTube](https://i.ytimg.com/vi/-zZRYuEgetA/maxresdefault.jpg)

Closure
Thus, we hope this article has provided valuable insights into Rejuvenating Your Windows 10 System: A Comprehensive Guide to Repair Upgrades. We hope you find this article informative and beneficial. See you in our next article!