Navigating The Windows 11 Upgrade Roadblock: Understanding And Resolving Error Code 0xc1900101 – 0x20017
Navigating the Windows 11 Upgrade Roadblock: Understanding and Resolving Error Code 0xc1900101 – 0x20017
Related Articles: Navigating the Windows 11 Upgrade Roadblock: Understanding and Resolving Error Code 0xc1900101 – 0x20017
Introduction
With enthusiasm, let’s navigate through the intriguing topic related to Navigating the Windows 11 Upgrade Roadblock: Understanding and Resolving Error Code 0xc1900101 – 0x20017. Let’s weave interesting information and offer fresh perspectives to the readers.
Table of Content
Navigating the Windows 11 Upgrade Roadblock: Understanding and Resolving Error Code 0xc1900101 – 0x20017
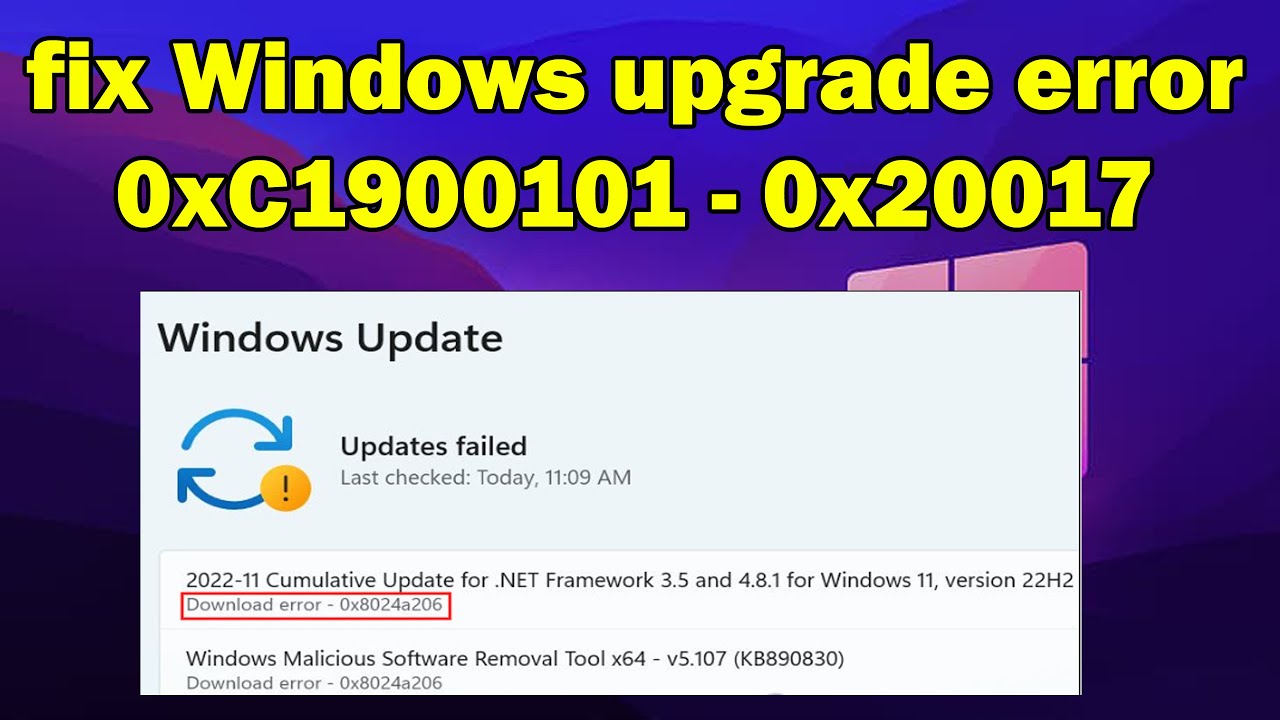
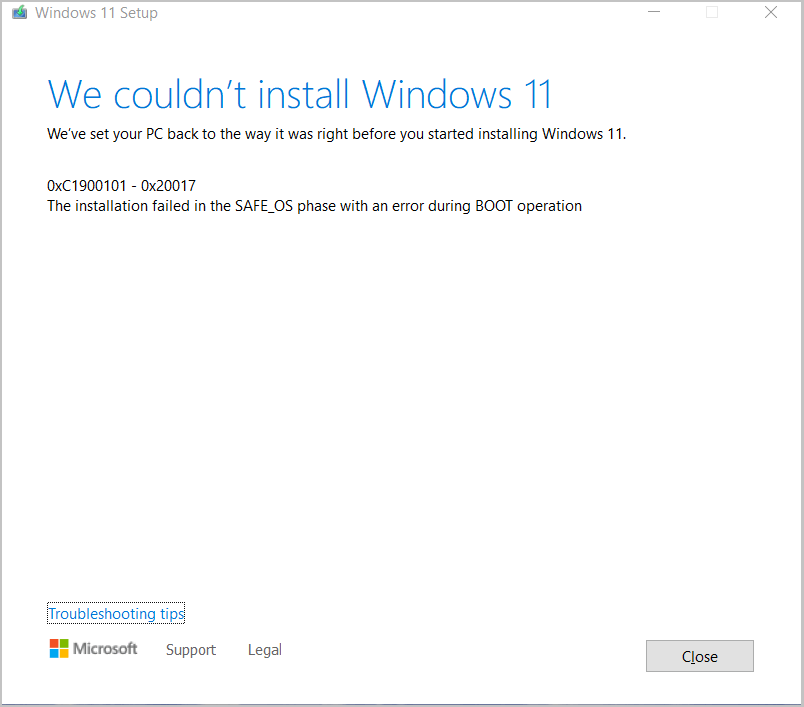
The process of upgrading to Windows 11, while generally smooth, can sometimes be interrupted by unexpected errors. One such error, denoted by the code 0xc1900101 – 0x20017, is a common obstacle encountered during the upgrade process. This error, while seemingly cryptic, points to an underlying issue preventing the successful installation of Windows 11. This article aims to demystify this error, providing a comprehensive understanding of its causes and offering practical solutions for its resolution.
Understanding the Error: A Deeper Look
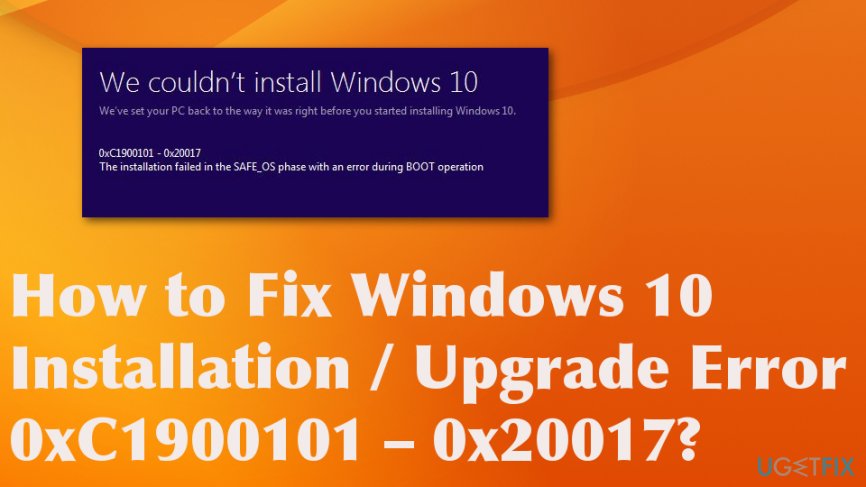
The error code 0xc1900101 – 0x20017, in essence, signifies a failure in the Windows 11 setup process. This failure can stem from a multitude of factors, ranging from hardware incompatibility to software conflicts. The specific error code itself is a technical indicator, offering limited insight into the root cause of the issue. To effectively troubleshoot and resolve this error, a deeper understanding of its potential sources is crucial.
Common Causes of the Error Code 0xc1900101 – 0x20017
-
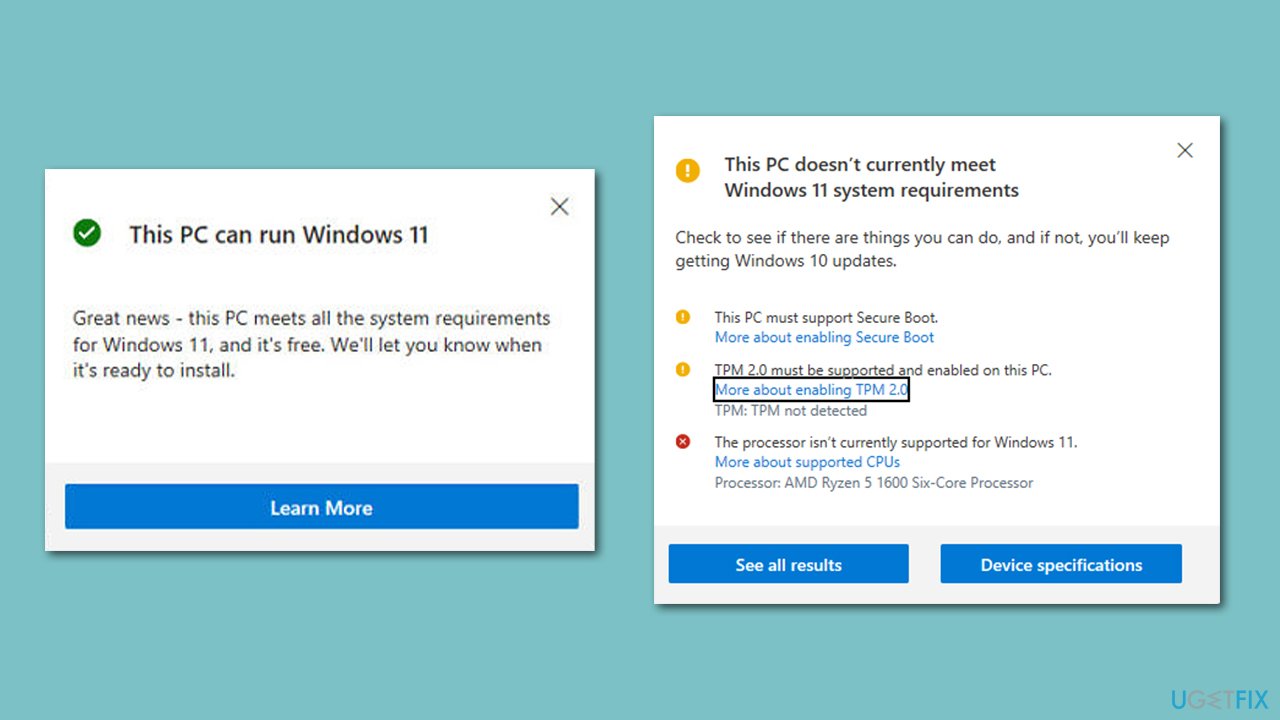
Hardware Incompatibility: Windows 11 has specific hardware requirements. If your system does not meet these requirements, the upgrade process might fail, resulting in the error code. This includes insufficient RAM, outdated or incompatible storage drives, or a lack of compatible processors.
-
Software Conflicts: Existing software on your system, especially older or incompatible applications, can interfere with the Windows 11 installation process. These conflicts can arise from driver issues, outdated software, or incompatibility with the new operating system.
-
Corrupted System Files: Corrupted system files can hinder the installation process, leading to the error. This corruption can occur due to various factors, including malware infections, faulty hardware, or improper shutdown procedures.
-
Insufficient Disk Space: Windows 11 requires a specific amount of free disk space for installation. If your system lacks the necessary space, the upgrade process will fail, resulting in the error code.
-
Active Antivirus or Security Software: Antivirus or security software, while essential for system protection, can sometimes interfere with the installation process. This interference can occur due to conflicting settings or security measures implemented by the software.
Troubleshooting and Resolution Strategies
Addressing the error code 0xc1900101 – 0x20017 involves a systematic approach, encompassing various troubleshooting techniques. These strategies aim to identify and resolve the underlying cause of the error, enabling a successful Windows 11 upgrade.
-
Verify Hardware Compatibility: Begin by confirming if your system meets the minimum hardware requirements for Windows 11. This includes checking processor compatibility, RAM capacity, storage space, and other hardware components. Refer to the official Windows 11 system requirements for detailed information.
-
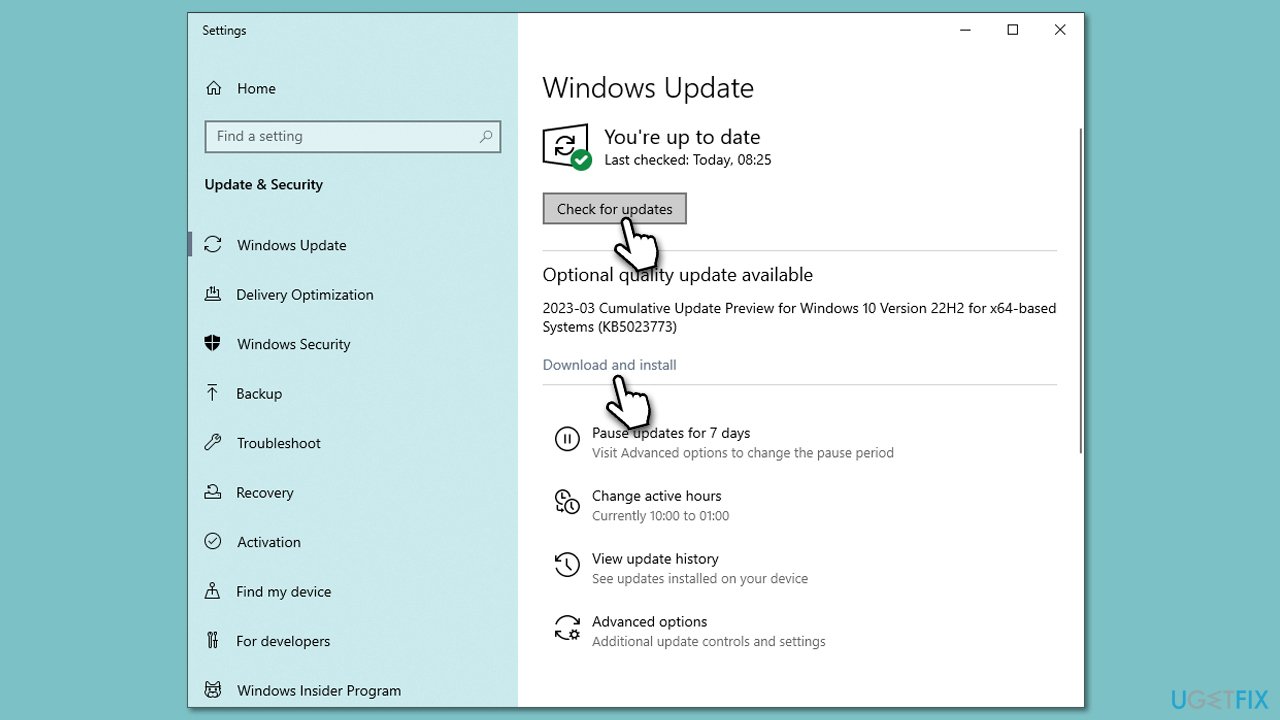
Update Device Drivers: Outdated or incompatible device drivers can significantly impact the upgrade process. Ensure all device drivers are up-to-date by visiting the manufacturer’s website or utilizing the Windows Update feature.
-
Temporarily Disable Antivirus Software: Antivirus or security software can sometimes interfere with the installation process. Temporarily disable your antivirus program before attempting the upgrade. Remember to re-enable it after the upgrade is complete.
-
Run System File Checker (SFC) and DISM: Corrupted system files can hinder the upgrade process. Run the System File Checker (SFC) and Deployment Image Servicing and Management (DISM) tools to scan and repair any corrupted files.
-
Free Up Disk Space: Ensure sufficient free disk space is available for the Windows 11 installation. This can be achieved by deleting unnecessary files, uninstalling unused programs, or moving data to an external storage device.
-
Clean Boot: Performing a clean boot can help isolate the issue by temporarily disabling unnecessary startup programs and services. This allows you to identify if any specific program or service is causing the error.
-
Check for BIOS Updates: Outdated BIOS settings can sometimes interfere with the upgrade process. Check for BIOS updates from your motherboard manufacturer and update accordingly.
Frequently Asked Questions (FAQs)
Q: What are the minimum hardware requirements for Windows 11?
A: Windows 11 requires a 1 GHz or faster processor with at least two cores, 4 GB of RAM, 64 GB of storage space, a compatible graphics card supporting DirectX 12 or later, and a UEFI firmware with Secure Boot enabled.
Q: Can I upgrade to Windows 11 from Windows 7 or 8?
A: While direct upgrades from Windows 7 and 8 are possible, it is recommended to perform a clean installation of Windows 11 for optimal performance and compatibility.
Q: Can I use a USB drive to install Windows 11?
A: Yes, you can create a bootable USB drive with the Windows 11 installation media and perform a clean installation from the drive.
Q: What if the error persists even after trying all the troubleshooting steps?
A: If the error persists, it is recommended to seek further assistance from Microsoft support or a qualified IT professional.
Tips for a Successful Upgrade
- Backup your data: Before attempting the upgrade, create a full backup of your important data to prevent data loss.
- Check for compatibility: Ensure that your hardware and software are compatible with Windows 11 before proceeding with the upgrade.
- Disconnect unnecessary devices: Disconnect any unnecessary devices, such as external drives and printers, before starting the upgrade process.
- Use a wired internet connection: A stable wired internet connection is recommended for a smooth upgrade process.
- Be patient: The upgrade process can take some time, so be patient and allow the system to complete the installation without interruption.
Conclusion
The error code 0xc1900101 – 0x20017, while seemingly daunting, is a common obstacle faced during the Windows 11 upgrade process. By understanding the potential causes and implementing the outlined troubleshooting strategies, users can effectively resolve this error and successfully transition to Windows 11. Remember, a systematic approach, combined with patience and perseverance, is key to overcoming this upgrade hurdle and enjoying the latest features and benefits of Windows 11.


Closure
Thus, we hope this article has provided valuable insights into Navigating the Windows 11 Upgrade Roadblock: Understanding and Resolving Error Code 0xc1900101 – 0x20017. We appreciate your attention to our article. See you in our next article!