Navigating The Windows 10 Automatic Repair Roadblock: A Comprehensive Guide
Navigating the Windows 10 Automatic Repair Roadblock: A Comprehensive Guide
Related Articles: Navigating the Windows 10 Automatic Repair Roadblock: A Comprehensive Guide
Introduction
In this auspicious occasion, we are delighted to delve into the intriguing topic related to Navigating the Windows 10 Automatic Repair Roadblock: A Comprehensive Guide. Let’s weave interesting information and offer fresh perspectives to the readers.
Table of Content
Navigating the Windows 10 Automatic Repair Roadblock: A Comprehensive Guide
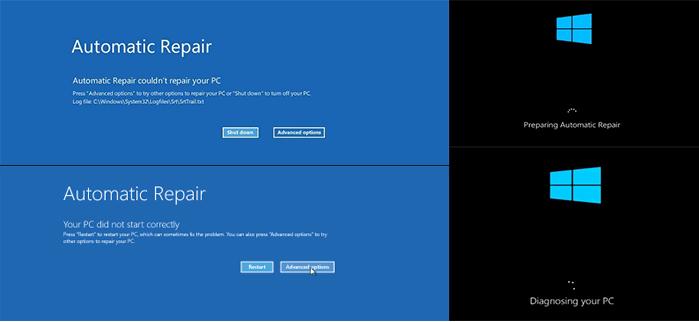
The dreaded blue screen of death, followed by the ominous "Automatic Repair" message, can be a frustrating experience for any Windows 10 user. This error message signifies that the operating system has encountered a critical problem preventing it from booting normally. While the Automatic Repair feature is designed to resolve these issues, it can sometimes fail, leaving users stranded with an unusable system. This article delves into the intricacies of this issue, exploring its causes, potential solutions, and strategies to prevent its recurrence.
Understanding the Importance of Automatic Repair
Automatic Repair is a built-in Windows 10 feature designed to automatically diagnose and fix various system errors that prevent the operating system from booting properly. These errors can stem from a wide range of issues, including:
- Hardware malfunctions: Defective hard drives, RAM issues, or faulty connections can disrupt normal boot processes.
- Software conflicts: Incompatible drivers, corrupted system files, or malicious software can cause system instability.
- Incorrect system configurations: Improper system settings or registry modifications can lead to boot failures.
- Power outages or abrupt system shutdowns: Unexpected interruptions during critical boot processes can corrupt system files.
When Automatic Repair is triggered, Windows 10 attempts to identify and resolve the underlying problem, potentially restoring the system to a previous working state. However, when this process fails, users are left with a non-functional computer, demanding further troubleshooting.
Causes of Automatic Repair Failure
The inability of Automatic Repair to effectively resolve the boot issue can be attributed to several factors:
- Severe System Corruption: Extensive corruption of critical system files can render Automatic Repair ineffective.
- Hardware Failure: A failing hard drive, faulty RAM, or a malfunctioning motherboard can prevent the operating system from accessing essential data, rendering Automatic Repair useless.
- Boot Sector Damage: The boot sector, responsible for initiating the boot process, can be corrupted due to malware infection, power surges, or hardware failures.
- Conflicting or Corrupted Drivers: Outdated or incompatible drivers can cause conflicts with the operating system, leading to boot failures.
- Insufficient Permissions: In some cases, Automatic Repair might require elevated permissions to access and modify system files, which it may lack due to system corruption.
Troubleshooting Strategies: A Step-by-Step Approach
Addressing the inability of Automatic Repair to resolve the boot issue requires a systematic and methodical approach. The following steps offer a comprehensive guide:
1. Boot into Safe Mode:
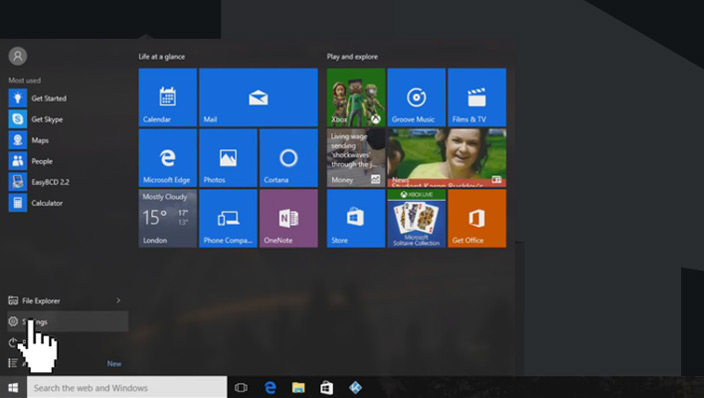
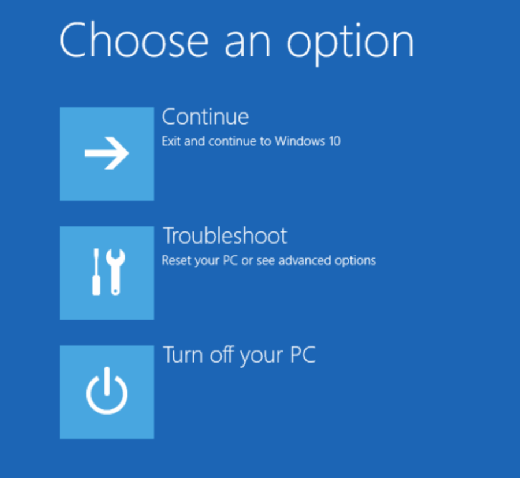
- Accessing the Advanced Startup Options: Restart the computer and repeatedly press the F8 key during the boot process. This should bring up the Advanced Startup Options menu.
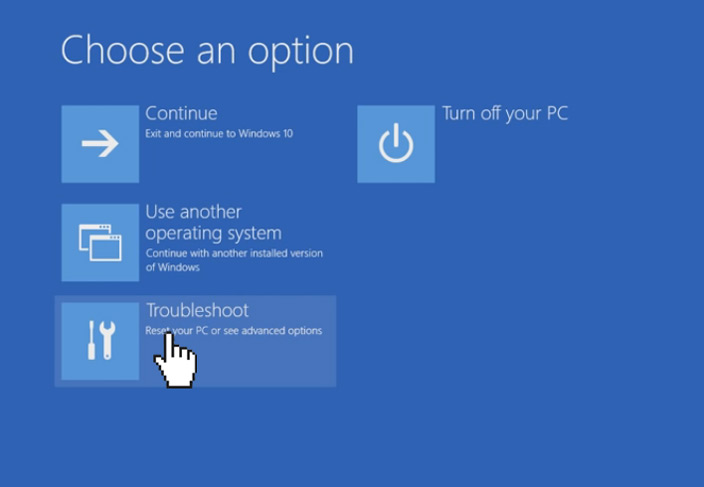
- Selecting Safe Mode: Navigate to "Troubleshoot" > "Advanced options" > "Startup Settings" and press F4 to enter Safe Mode.
2. Run System File Checker (SFC):
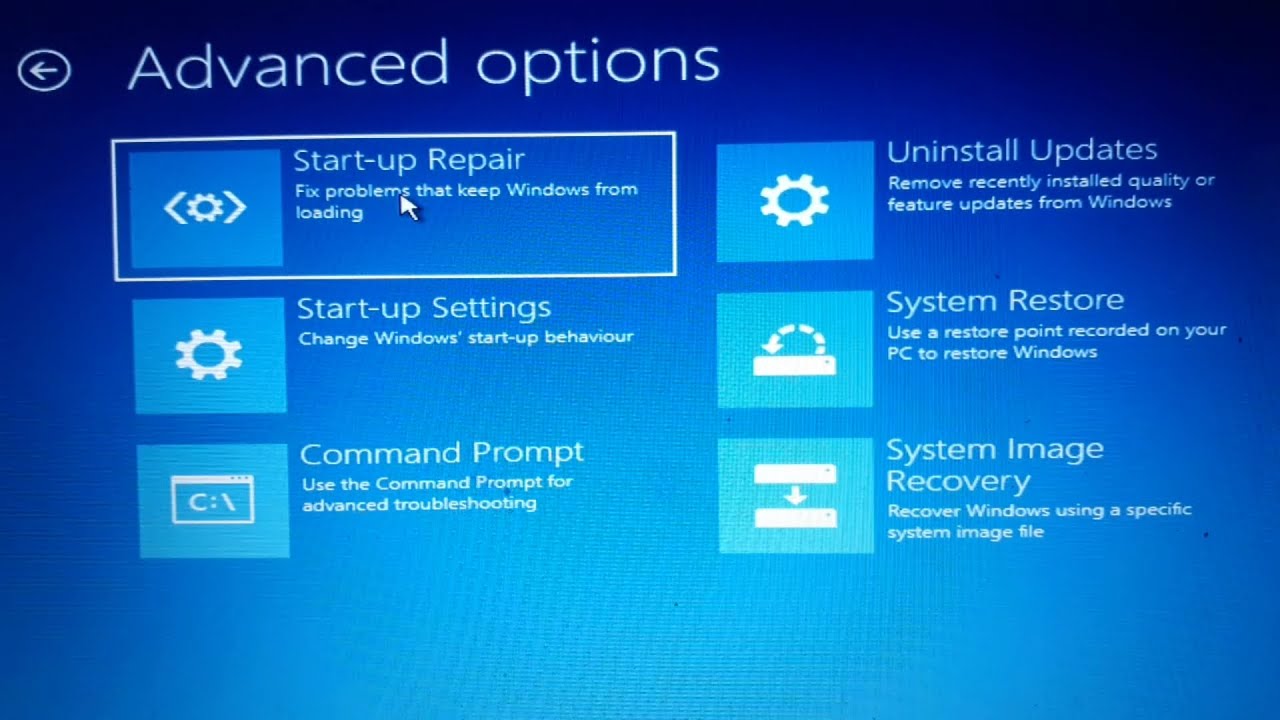
- Command Prompt in Safe Mode: Open the Command Prompt in Safe Mode by navigating to "Troubleshoot" > "Advanced options" > "Command Prompt."
- Executing the SFC Scan: Type the command "sfc /scannow" and press Enter. This will scan for and attempt to repair corrupted system files.
3. Run Disk Check (CHKDSK):
- Command Prompt in Safe Mode: Open the Command Prompt in Safe Mode.
- Running the CHKDSK Scan: Type the command "chkdsk /f /r" and press Enter. This will check for and attempt to fix errors on the hard drive.
4. Boot from a Recovery Drive or USB:
- Creating a Recovery Drive: If you haven’t already, create a bootable USB recovery drive using the Windows 10 Media Creation Tool.
- Booting from the Recovery Drive: Connect the USB drive to the computer and restart. Select "Boot from USB" in the BIOS settings.
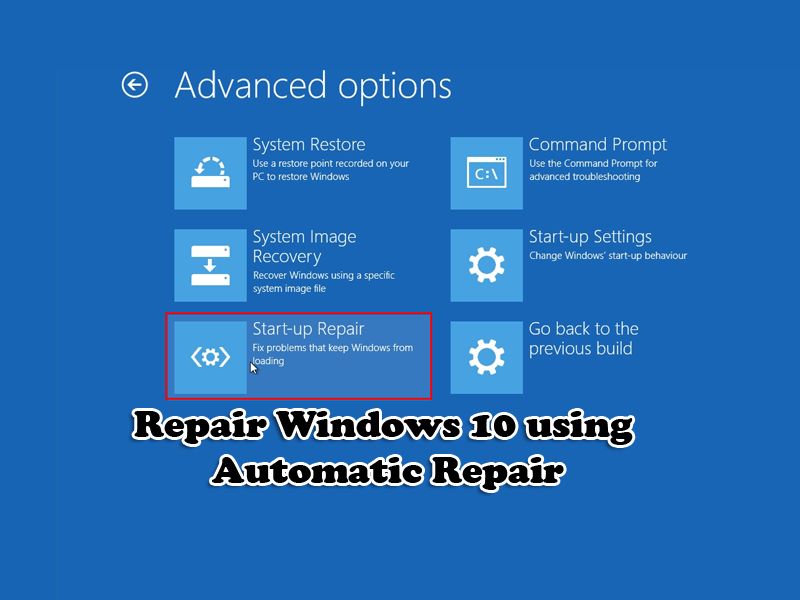
- Accessing Recovery Options: Once booted from the USB, select "Troubleshoot" > "Advanced options" to access a range of recovery tools.
5. System Restore:
- Accessing System Restore: Choose "System Restore" from the Advanced options menu.
- Selecting a Restore Point: Select a restore point created before the issue arose and follow the on-screen instructions to restore the system.
6. Reinstall Windows 10:
- Using a USB Drive: Boot from the USB drive containing the Windows 10 installation media.
- Performing a Clean Install: Choose the "Custom install" option and format the hard drive before installing Windows 10.
7. Seek Professional Assistance:
If the above steps fail to resolve the issue, it’s advisable to seek professional help from a qualified technician. They can diagnose hardware failures, perform more advanced troubleshooting steps, or recommend data recovery services if necessary.
FAQs
Q: What if Automatic Repair doesn’t offer any options or just loops endlessly?
A: This could indicate a severe system corruption or a hardware failure. You can try using a recovery drive or USB to access recovery options, or seek professional assistance.
Q: How can I prevent Automatic Repair from failing in the future?
A: Regularly update your Windows 10 system, install security software, back up important data, and avoid installing software from untrusted sources.
Q: Can I access my files if Automatic Repair fails?
A: Depending on the severity of the issue, you might be able to access your files using a recovery drive or USB. However, if the hard drive is damaged, data recovery services might be necessary.
Tips for Preventing Automatic Repair Failure
- Regular System Updates: Ensure your Windows 10 system is up-to-date with the latest security patches and bug fixes.
- Antivirus and Malware Protection: Install and maintain a reputable antivirus and anti-malware solution to protect your system from threats.
- Regular Backups: Create regular backups of your important data to a separate storage location, such as an external hard drive or cloud storage.
- Install Software from Trusted Sources: Avoid downloading software from untrusted websites or sources.
- Monitor System Health: Regularly check for errors, warnings, and system performance issues.
Conclusion
While Automatic Repair is a powerful tool for resolving boot issues, its failure can leave users stranded with an unusable system. By understanding the causes of Automatic Repair failure and following the troubleshooting steps outlined in this guide, users can effectively diagnose and resolve the problem. Remember, preventative measures, such as regular system updates, backups, and antivirus protection, are crucial for minimizing the risk of such issues. In case of persistent problems or severe system corruption, seeking professional assistance is recommended.


Closure
Thus, we hope this article has provided valuable insights into Navigating the Windows 10 Automatic Repair Roadblock: A Comprehensive Guide. We hope you find this article informative and beneficial. See you in our next article!