Modifying User Account Names In Windows 10: A Comprehensive Guide
Modifying User Account Names in Windows 10: A Comprehensive Guide
Related Articles: Modifying User Account Names in Windows 10: A Comprehensive Guide
Introduction
With great pleasure, we will explore the intriguing topic related to Modifying User Account Names in Windows 10: A Comprehensive Guide. Let’s weave interesting information and offer fresh perspectives to the readers.
Table of Content
Modifying User Account Names in Windows 10: A Comprehensive Guide
Windows 10, like its predecessors, offers a user-friendly interface for managing user accounts. One of the essential functions available is the ability to modify the name associated with an account. This seemingly simple action can have significant implications for organization, personalization, and even system security. This article provides a detailed guide on renaming user accounts in Windows 10, delving into the process, its implications, and potential benefits.
Understanding the Importance of Account Names
The user account name serves as a primary identifier for your individual profile on the Windows 10 system. It’s the name that appears in various system menus, file folders, and application settings. While it might seem like a minor detail, the account name plays a crucial role in:
- Organization and Identification: A descriptive account name makes it easier to distinguish between multiple users on a shared computer. It also simplifies file management and collaboration.
- Personalization: Changing the account name allows users to personalize their Windows experience, reflecting their individual preferences and identities.
- System Security: In certain scenarios, a unique and secure account name can contribute to enhancing system security by making it more difficult for unauthorized individuals to guess or access your account.
The Renaming Process: A Step-by-Step Guide
Renaming a user account in Windows 10 is a straightforward process that can be accomplished through the system’s built-in settings. Here’s a detailed guide:
-
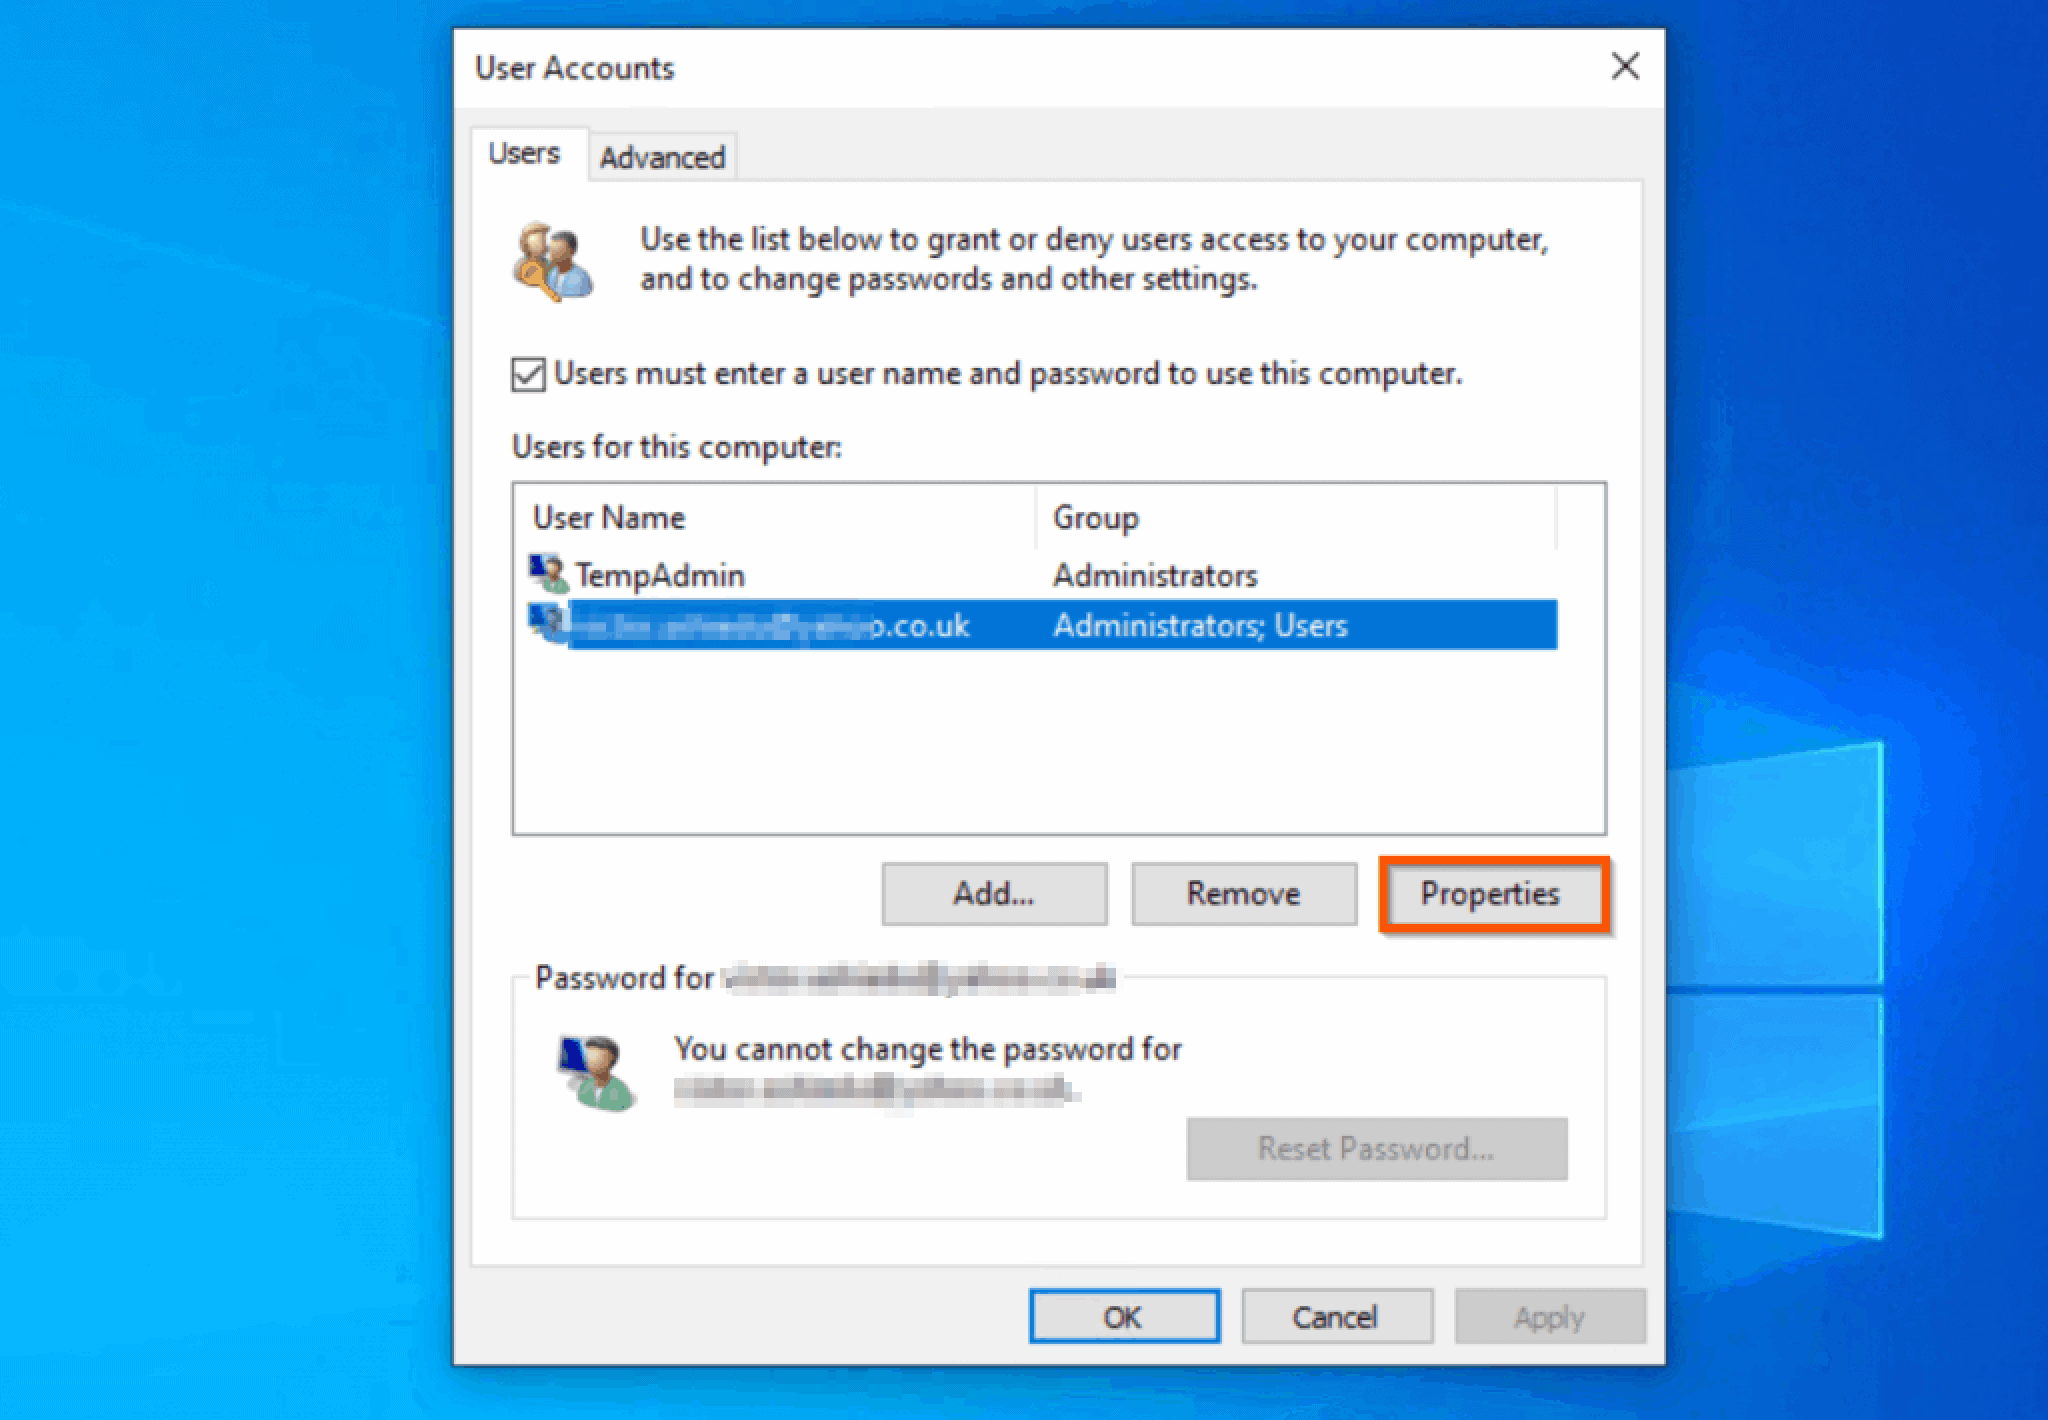
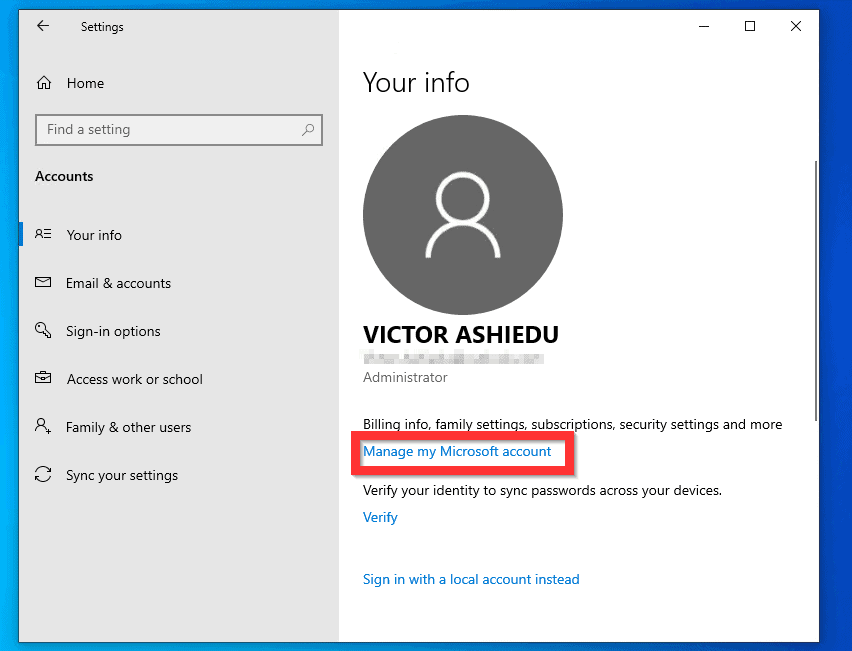
Accessing User Account Settings:
- Click on the Start button in the bottom left corner of your screen.
- Navigate to Settings (the gear icon) in the left-hand menu.
- Select Accounts from the available options.
-
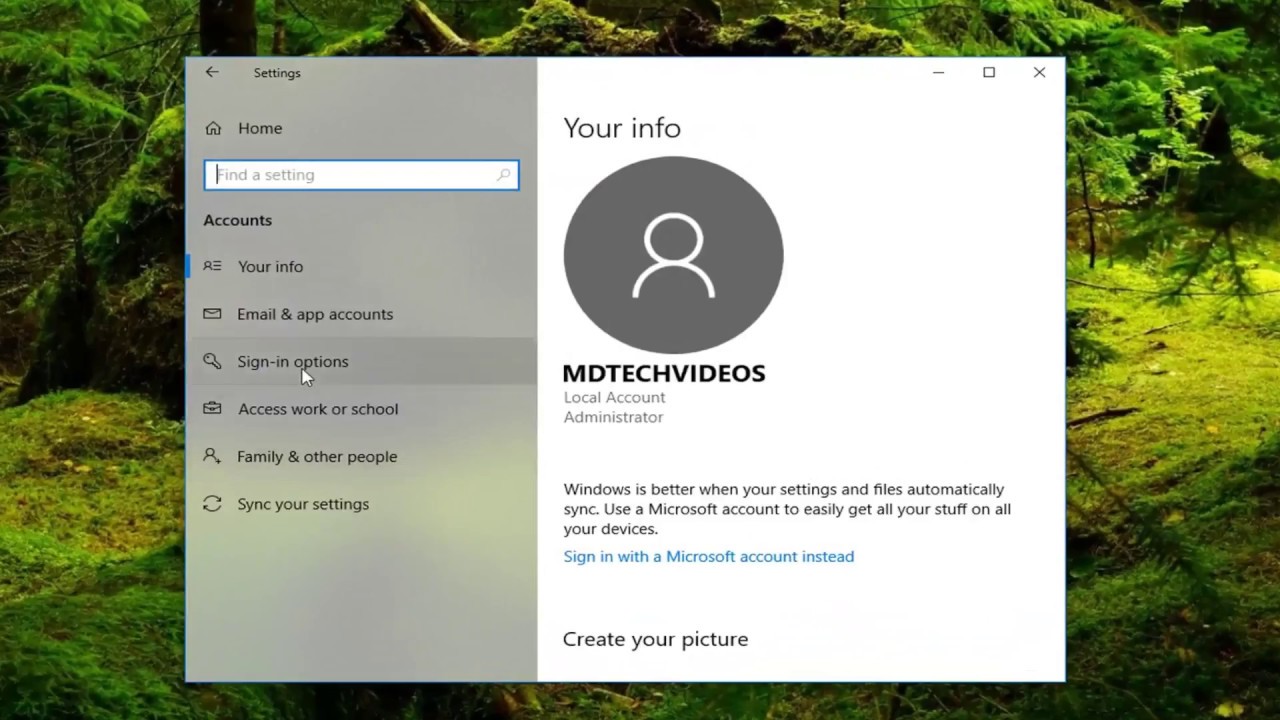
Navigating to the "Your Info" Section:
- In the Accounts settings window, click on Your info from the left-hand menu.
-
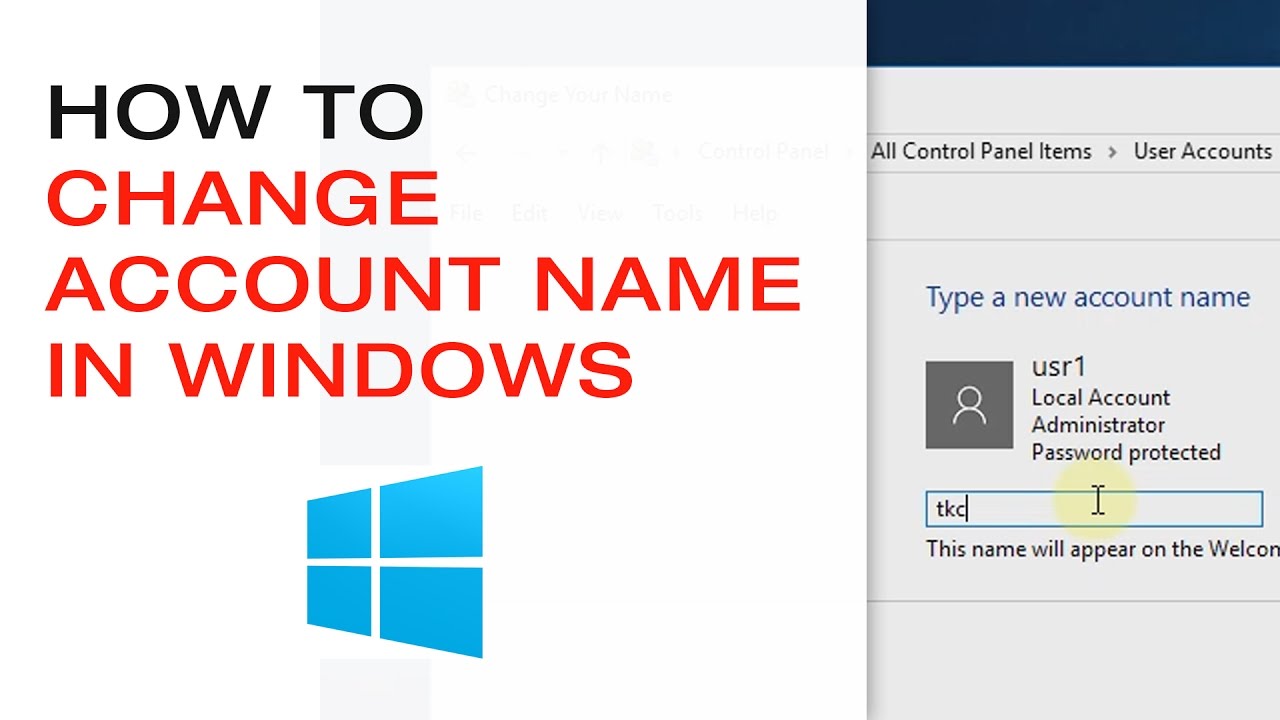
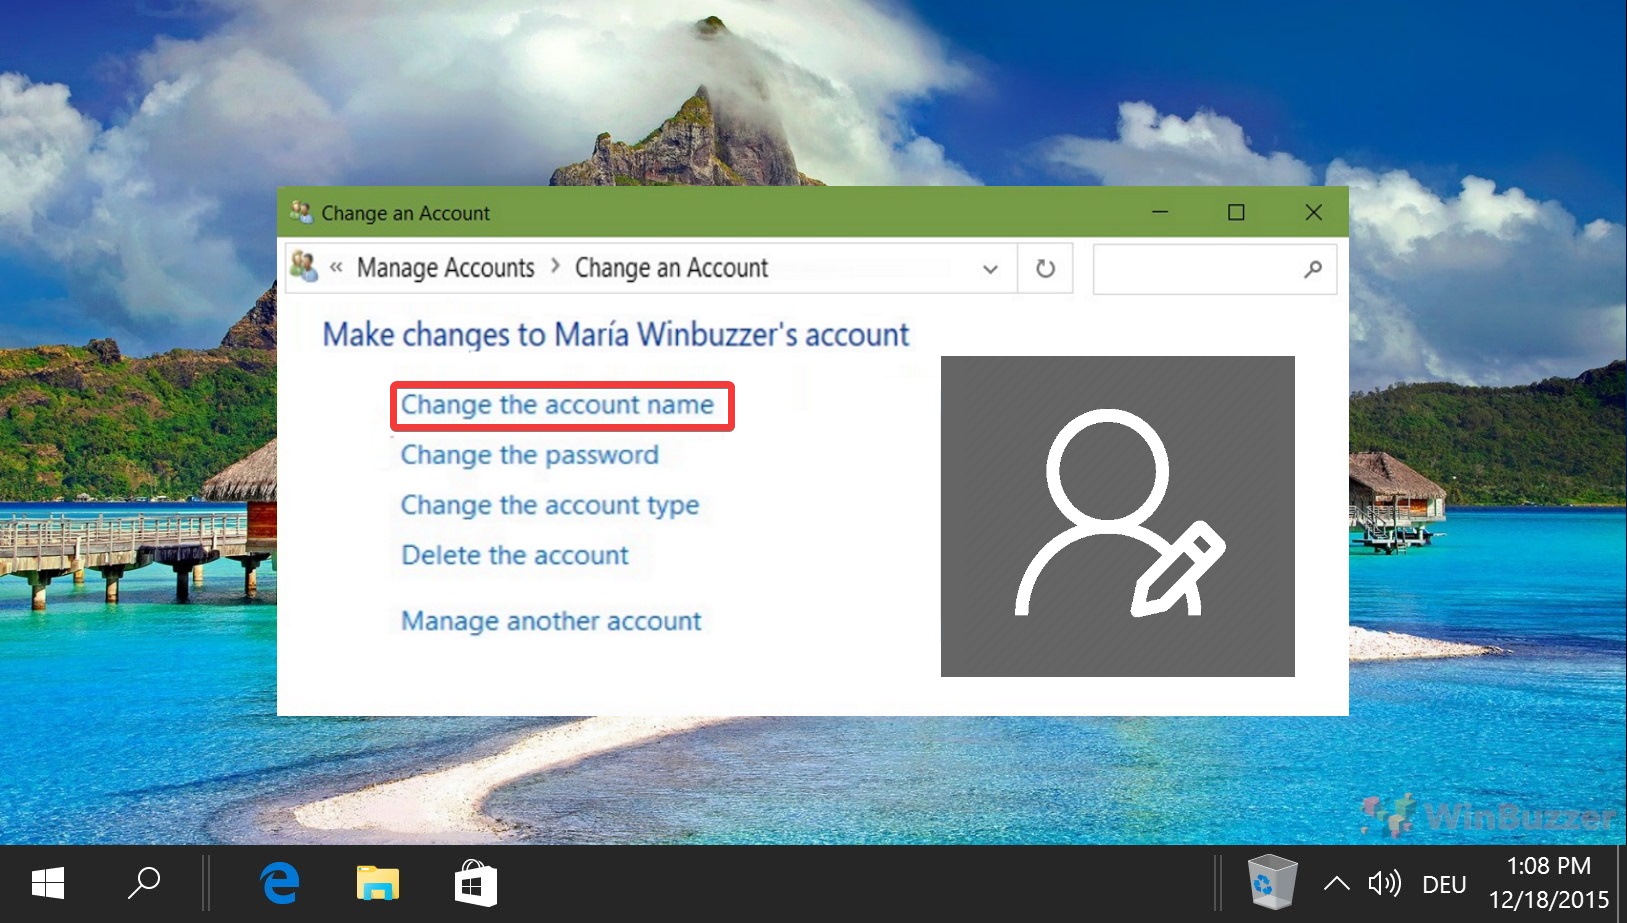
Initiating the Rename Process:
- Locate the "Account name" field, which displays the current name associated with your account.
- Click on the "Rename" button positioned to the right of the account name.
-
Entering the New Account Name:
- A pop-up window will appear, prompting you to enter the desired new account name.
- Type the preferred name in the designated field.
- Ensure the name is unique, avoiding spaces and special characters.
-
Confirming the Rename:
- Once you’ve entered the new name, click the "Next" button to proceed.
- Windows 10 will prompt you to enter your current account password for verification purposes.
- Enter the password and click "Sign in".
-
Completing the Process:
- The system will now process the renaming request.
- Upon completion, you will be logged out of your account.
- Simply log back in using the new account name you just created.
Important Considerations:
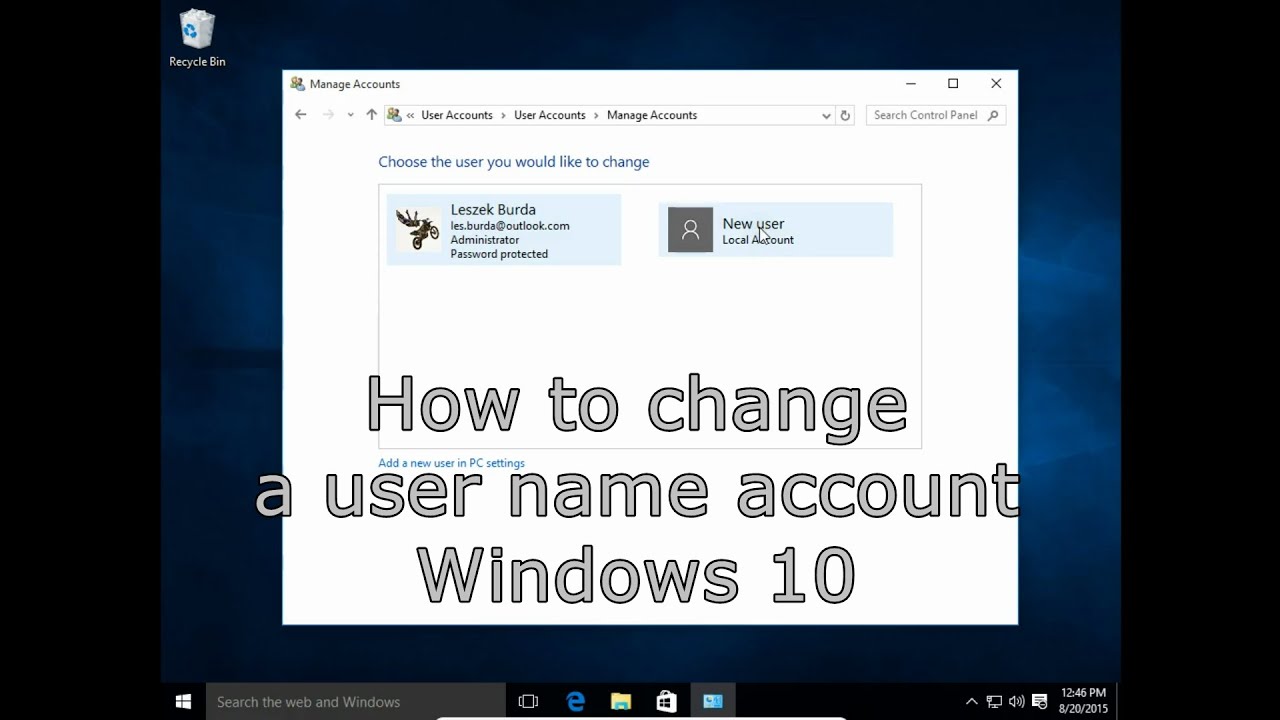
- Account Type: The ability to rename a user account may be restricted depending on the account type. For example, administrator accounts might have additional steps or limitations compared to standard user accounts.
- System Files and Folders: Renaming an account does not automatically rename associated files and folders. These will retain their original names, which might require manual renaming if desired.
- Applications and Programs: Some applications might require adjustments or reconfiguration after an account name change. This is particularly relevant for applications that store user-specific data or settings tied to the account name.
Exploring the Benefits of Account Renaming
Modifying the name associated with your Windows 10 account offers several advantages, including:
- Enhanced Organization: Renaming accounts with descriptive names, such as "Work Account" or "Personal Account," can significantly improve organization on shared computers, especially when multiple users are involved.
- Improved User Experience: A personalized account name contributes to a more comfortable and user-friendly experience, allowing users to customize their digital environment to their liking.
- Potential Security Advantages: While not a primary security measure, a unique and secure account name can make it slightly more difficult for unauthorized individuals to guess or access your account.
Addressing Common Questions Regarding Account Renaming
1. Can I rename my administrator account?
Yes, you can rename your administrator account. However, you might need to take additional steps, such as logging in as a different administrator account or using the command prompt to rename the administrator account.
2. What happens to my files and folders after renaming my account?
Your files and folders will retain their original names. However, you can manually rename them to reflect the new account name if desired.
3. Do I need to reinstall my applications after renaming my account?
In most cases, you won’t need to reinstall your applications. However, some applications might require reconfiguration or adjustments after the account name change.
4. Can I rename my account without knowing my password?
No, you will need to know your current account password to rename your account. This is a security measure to prevent unauthorized access and modifications.
5. What happens if I choose an account name that already exists?
Windows 10 will prompt you to choose a different name if the desired name is already in use. You will need to select a unique and unused account name.
Tips for Effective Account Renaming
- Choose Descriptive Names: Opt for account names that clearly identify their purpose or association, such as "Work Account," "Family Account," or "Guest Account."
- Avoid Special Characters: Stick to alphanumeric characters (letters and numbers) for account names. Avoid using spaces or special symbols, as they might cause issues with certain applications.
- Back Up Important Data: Before renaming your account, consider backing up important data, such as files, documents, and application settings, as a precautionary measure.
- Test Thoroughly: After renaming your account, it’s essential to test all applications and programs to ensure they function correctly.
Conclusion
Renaming user accounts in Windows 10 is a straightforward process with significant implications for organization, personalization, and even system security. Understanding the process, its benefits, and potential considerations can empower users to effectively manage their accounts and create a more personalized and efficient digital environment. By following the steps outlined in this guide and considering the accompanying tips, users can seamlessly modify their account names, enhancing their Windows 10 experience.

Closure
Thus, we hope this article has provided valuable insights into Modifying User Account Names in Windows 10: A Comprehensive Guide. We appreciate your attention to our article. See you in our next article!